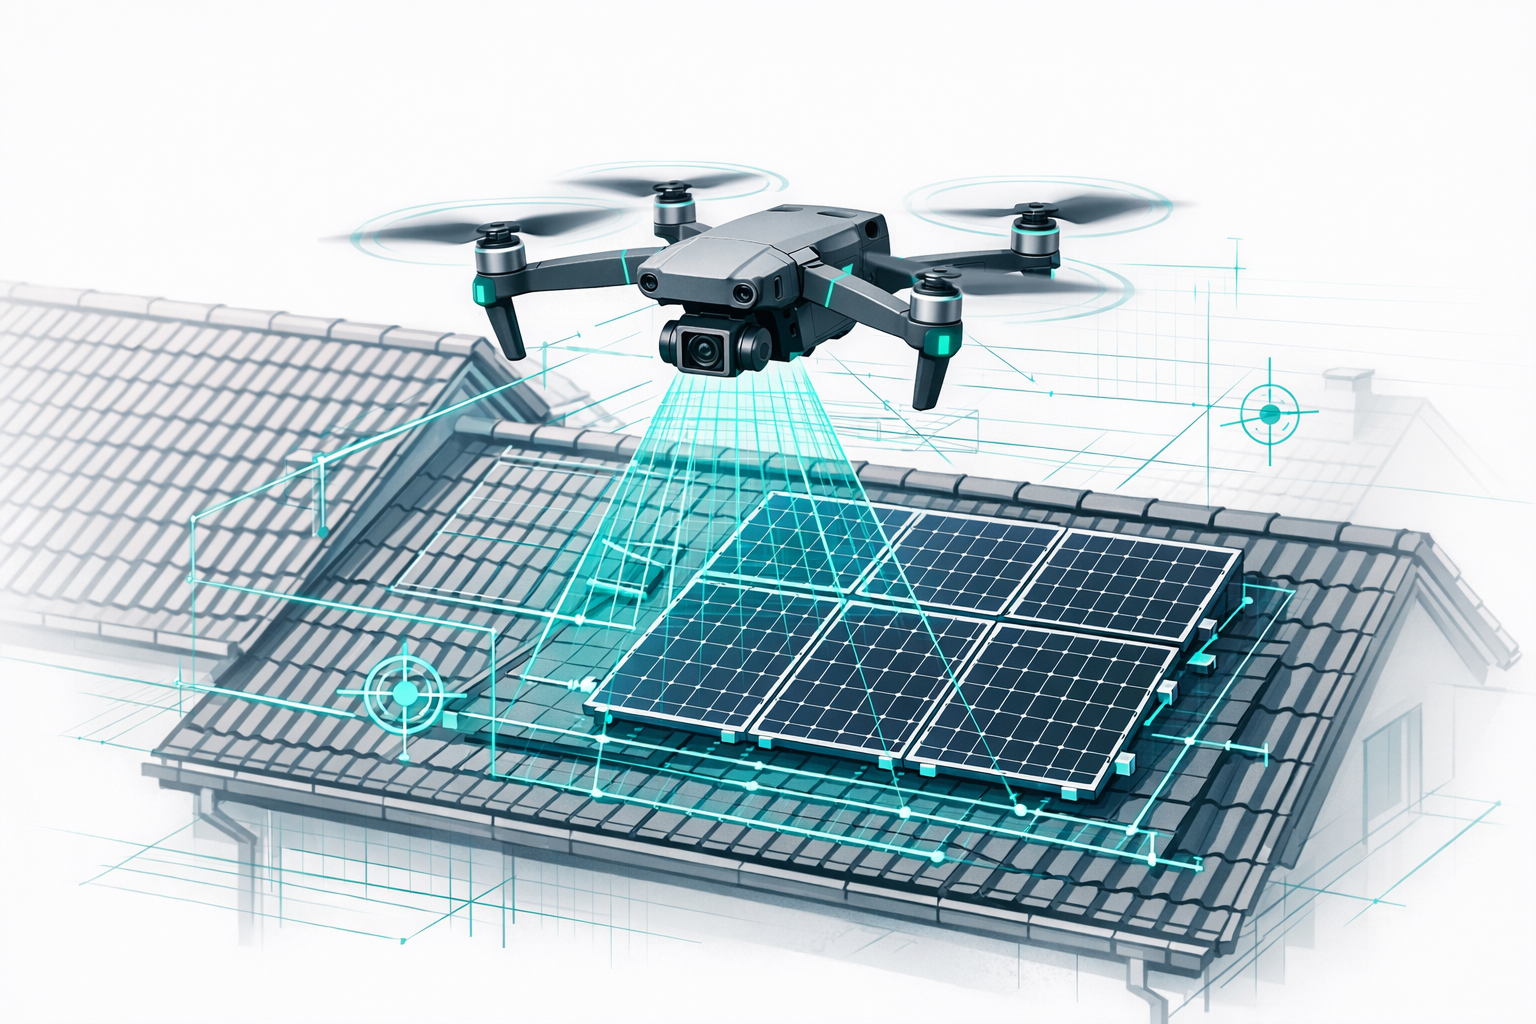
Save time, harness digital precision, and streamline your workflows - with drones, AI-powered analysis, and the Airteam Fusion Platform, you can take your roofing business to the next level in 2026.
With modern survey drones and AI, you benefit from:
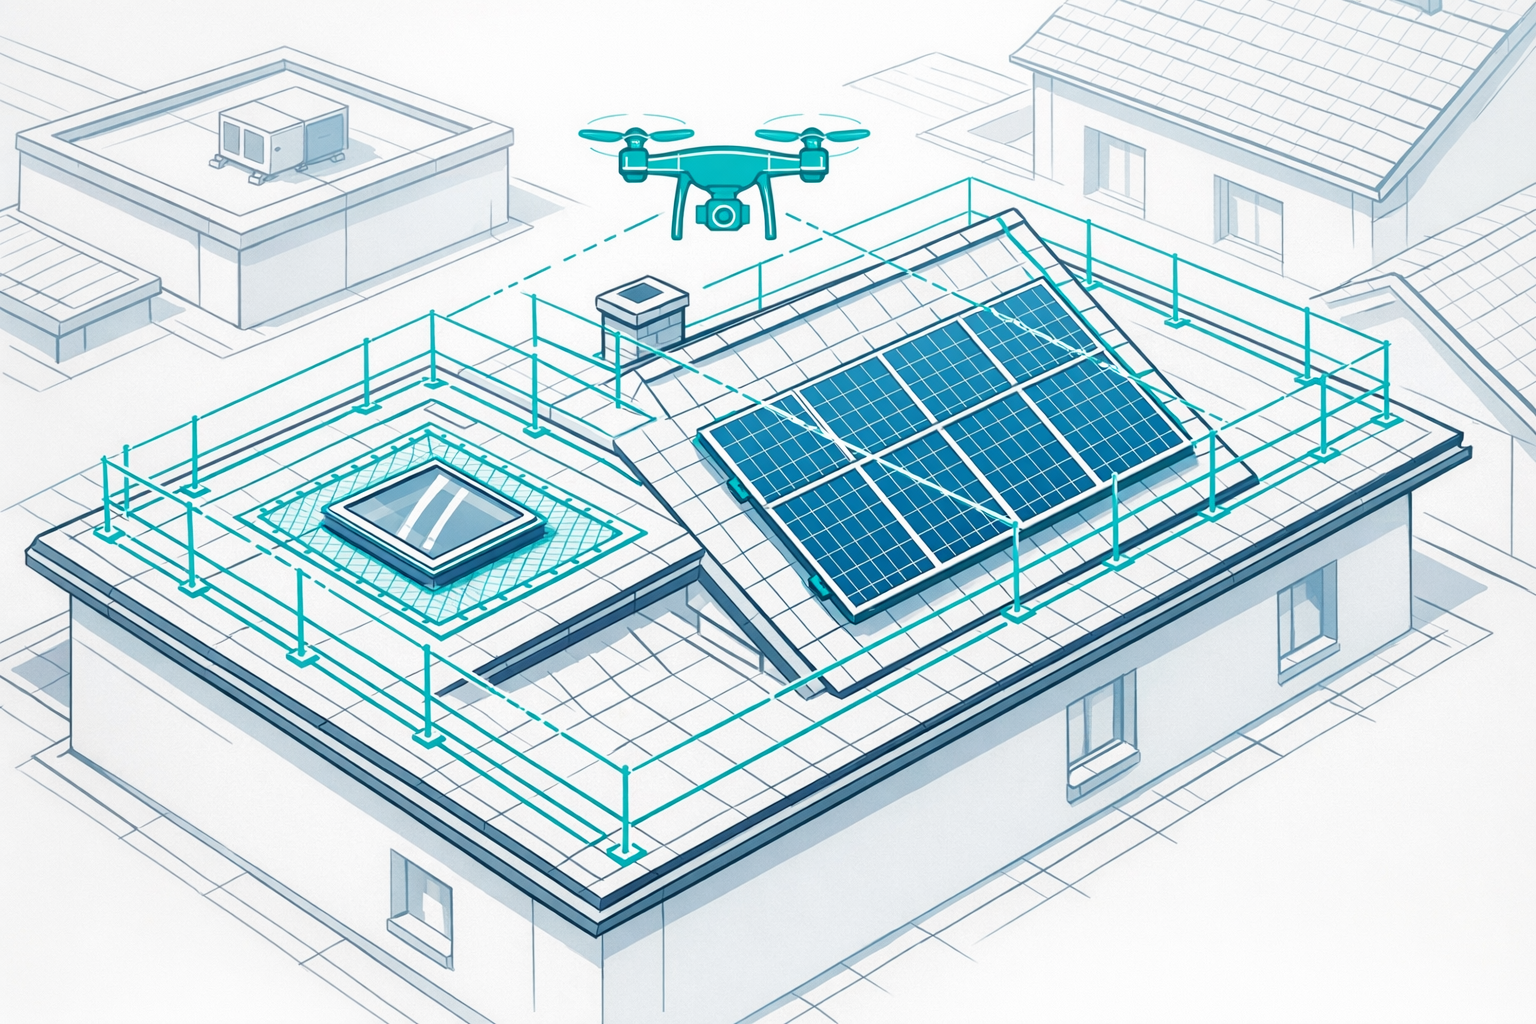
- Significantly less risk: No more dangerous roof walkovers.
- Maximum time savings: Fast roof measurement and inspection by drone.
- Highest accuracy: Legally reliable digital data that can be transferred directly into your planning software.
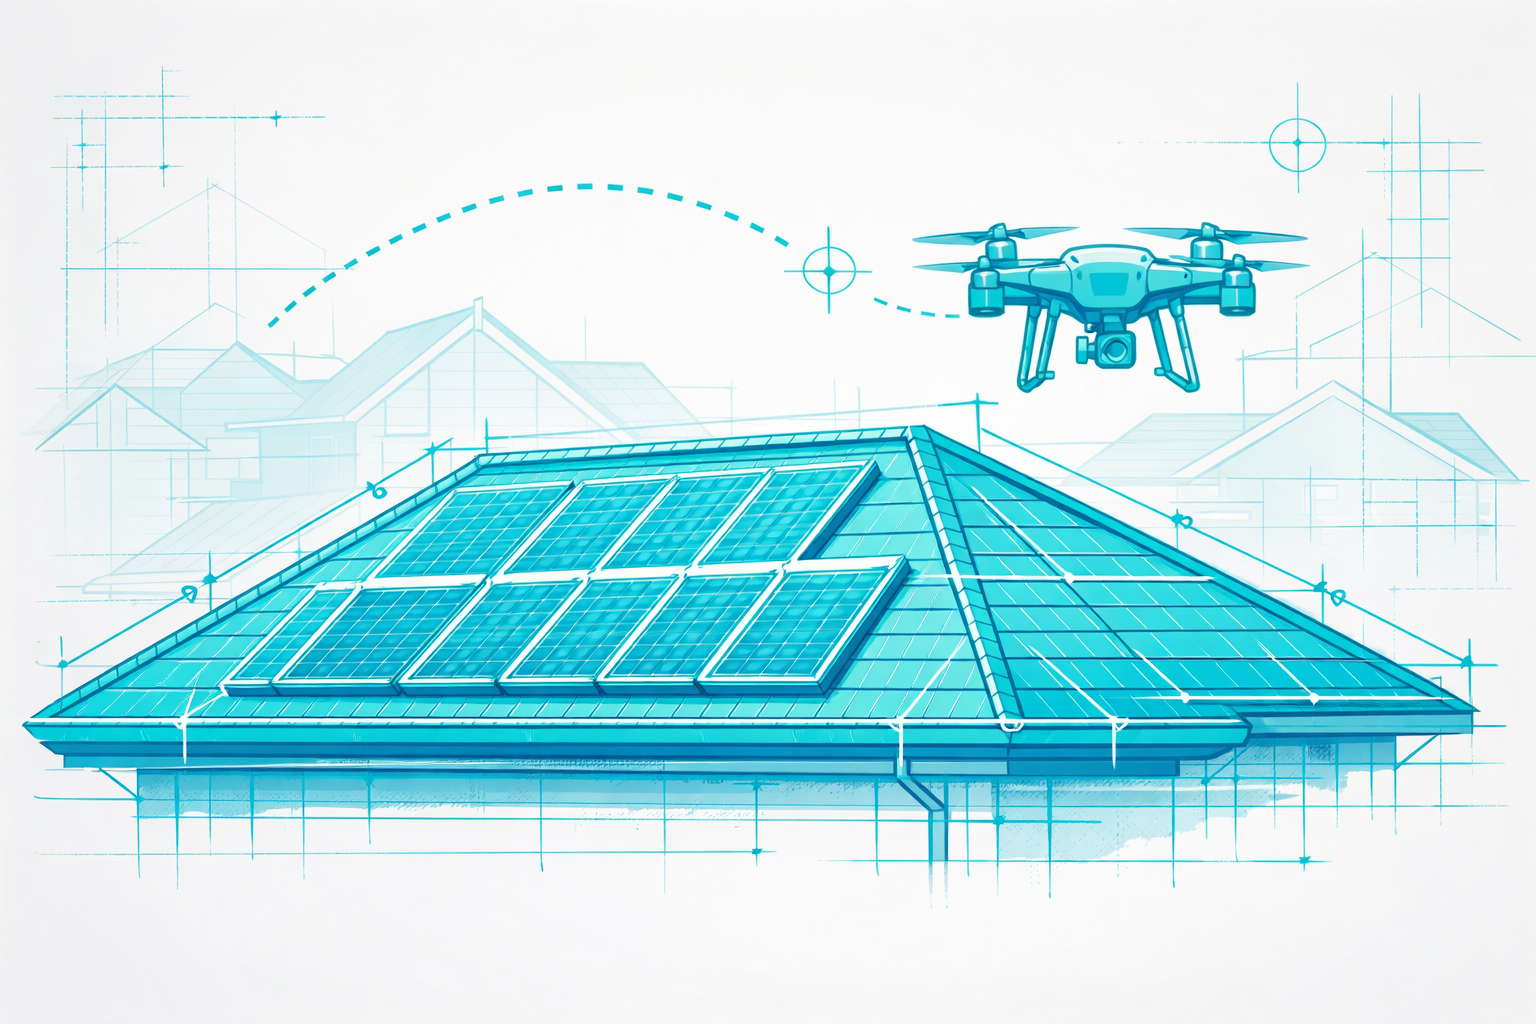
Crafts and trade businesses save up to 90% of the time required for roof measurements with drone surveying compared to traditional methods - with higher precision.
In this guide, you'll learn step by step:
- Which requirements you need to consider for commercial drone operations
- What a typical workflow for drone-based roof surveying looks like
- How to master legal requirements, safety, and software integration
- How to use drone data efficiently for proposals and cost calculations
You'll find more details on costs, providers, and pricing models in our main article Commercial Drone Roof Surveys 2026: Overview of Costs & Providers on the Airteam blog.
Prerequisites: What you need before you start
Before you get going, make sure these basics are in place:
1. Legal requirements & licenses
Commercial drone operations are subject to EU drone regulations (category "Open" A1/A2/A3):[1]
- EU A1/A3 Certificate of Competency: Mandatory for commercial roof inspections with most survey drones.
- Registration as a UAS operator with the aviation authority. The eID must be visibly attached to the drone.
- Drone liability insurance: A minimum coverage of €900,000 is mandatory in Germany.
- Compliance with no-fly zones (e.g., airports, nature reserves, large gatherings of people). Special rules apply for drones under 250 g and certain C classifications.
2. The right drone for roofing contractors
What really matters:
- At least a 20-megapixel camera with gimbal
- 25-30 minutes of flight time per battery
- GNSS/RTK support for precise survey results
- Serial number and C classification (e.g., C1 or C2) to fly legally in the "Open" category[2]
With the Airteam Fusion Platform, you can use both GPS and RTK drones. Airteam achieves around 99.7% accuracy with GPS drones (maximum deviation of 10 cm) and up to 99.9% accuracy with RTK drones, with 1-3 cm tolerance - in line with DIN SPEC 5452-5 for digital roof measurements.
3. Software & data workflow
To create a digital roof survey from drone imagery, you'll need:
- Access to the Airteam Fusion Platform (cloud software)
- Stable internet connection for image upload
- PC or tablet for analysis
- Interfaces for exporting into industry software (e.g., MF Dach, PV*SOL, Eturnity, AutoCAD, SEMA, Scaffmax)
The Airteam Fusion Platform exports roof survey data in many formats and is compatible with leading software solutions - eliminating media breaks.
See the solution live: From drones and AI to a 3D roof survey
4. Clarify processes & responsibilities in your business
- Who will fly the drone? (You, a team member, an external pilot)
- Who checks the 3D model and measurements?
- How are the data transferred into proposals, costing, and documentation?
Clear processes make integration smooth and straightforward.
Step-by-step: Using drone surveys in your day-to-day roofing work
Here's how to integrate drones quickly and professionally into your operations:
Step 1: Define your use cases
Decide what tasks you want to use the drone for:
- Roof measurement for quotations (re-roofing, refurbishments, PV pre-planning)
- Visual roof inspection (e.g., after storms, for insurance reports)
- Documentation of construction progress and warranty work
- Thermal inspection (leaks, PV system checks with thermal imaging camera)
It's best to start with one core use case, such as PV projects.
Step 2: Cover legal requirements & safety
- Obtain the A1/A3 drone license
- Complete operator registration and attach the eID
- Arrange or adjust liability insurance
- Define internal safety rules:
- Minimum distance to people
- Abort criteria (wind, rain, visibility)
- Emergency procedures
Warning: Flying commercially without a license, registration, or insurance is an expensive mistake. Sort out all legal requirements first.
Step 3: Site and flight planning
Before every deployment:
- Site analysis
- Location, obstacles, take-off and landing area
- Define flight parameters
- Flight altitude, flight pattern, and image overlap for precise data
- Check timing and weather
- Ideal light conditions and low wind
Pro tip: Always plan at least one spare battery - it prevents time pressure on site.
Step 4: On-site checks & communication
- Secure the take-off and landing area
- Keep bystanders at a safe distance
- Check the surroundings for new obstacles
- Briefly inform clients and, if needed, neighbors
- Perform a preflight check: battery, memory card, RTH altitude
Step 5: Capture drone imagery
- Use automation: Grid flights for consistent overlap
- Lock in camera settings: Fixed shutter speed and constant exposure
- Control overlap: Better too many images than too few
- Keep a flight log: Project name, address, special conditions
Tech tip: Right after landing, review a few images - this helps avoid errors in the 3D model.
Step 6: Upload images to Airteam & receive your 3D model
- Create a new project in the Airteam Fusion Platform
- Upload your images
- Select project type (roof, solar, etc.)
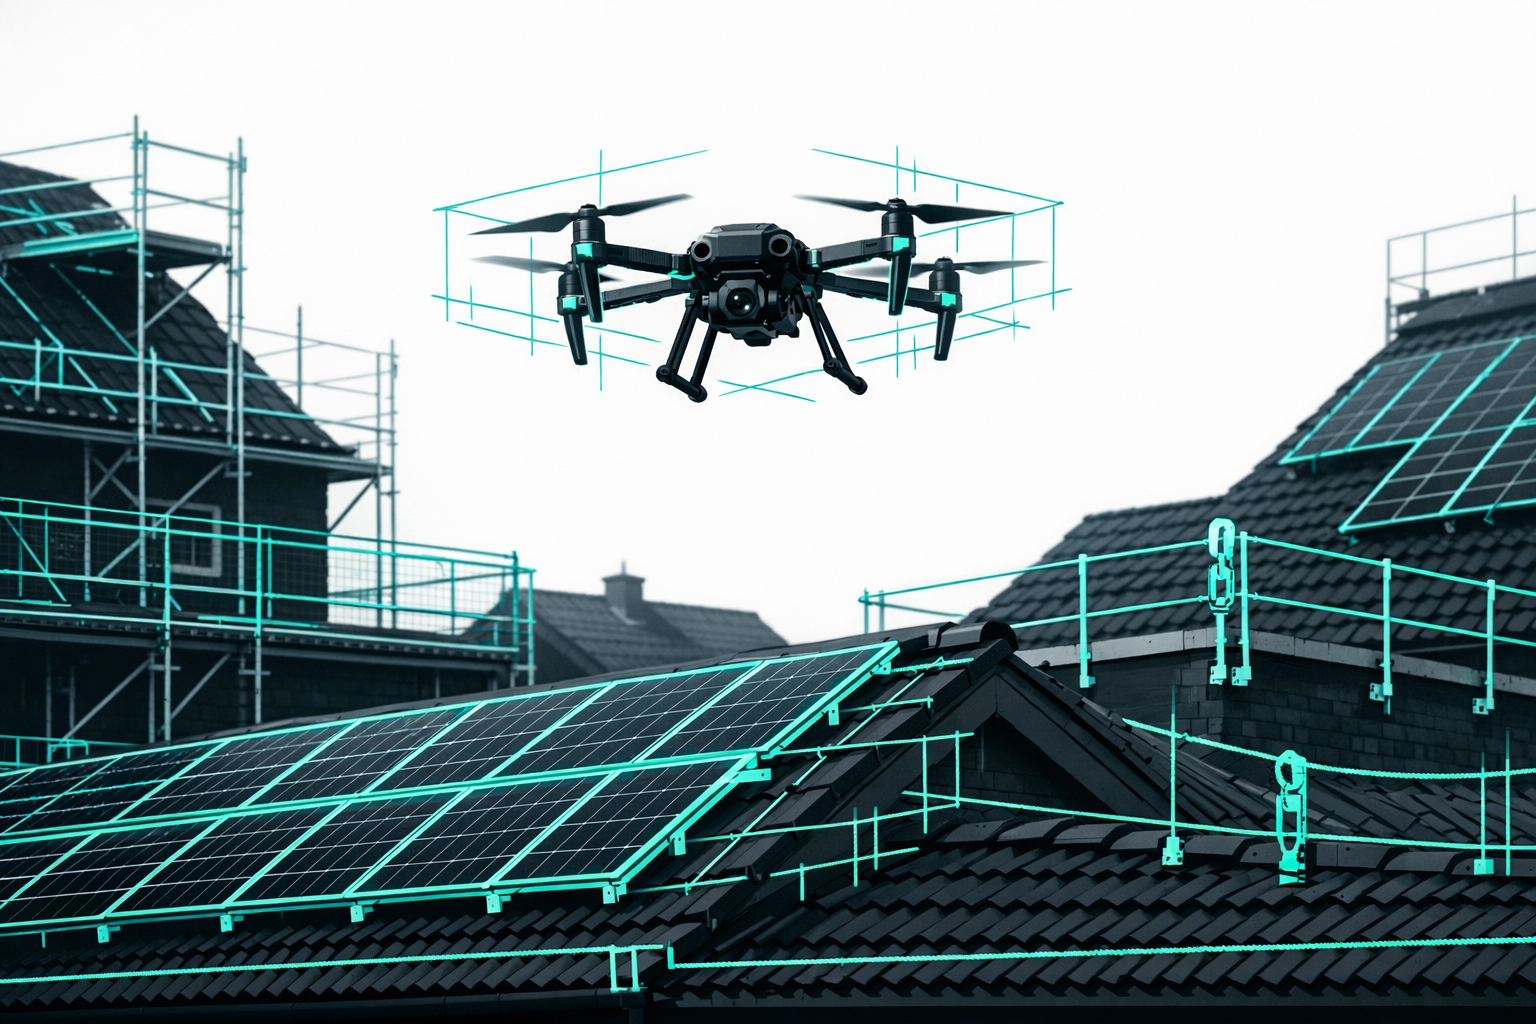
AI photogrammetry delivers precise 3D models of all roof details within 24 hours.
The AI automatically recognizes:
- Roof sections, eaves, and ridges
- Slopes and heights
- Penetrations, dormers, and valleys
Step 7: Review, measure, and export
- Visual check: Do building outline and roof shape look correct?
- Measurements: Total roof area, usable PV area, lengths
- Export: Transfer to industry software (e.g., MF Dach, AutoCAD)
The interface enables direct data export - no more manual tracing.
You'll find more details in the guide Roof Surveying with Drones: 90% Faster & DIN-Compliant.
Step 8: Create your report & proposal
- Screenshots or PDF excerpts from the model
- Area list with measurements
- Mark damaged areas with images
- Calculate a precise proposal based on accurate data
Many roofing contractors handle roof measurement and inspection in a single visit - digitally, instead of climbing onto the roof.
Profitability: Is a drone worth it?
The investment pays off quickly.
Time and efficiency gains
Up to 90% less time required for roof measurements thanks to drone surveying.
Contractors also report:
- Fewer recalculations and fewer material errors
- Faster proposal preparation
- Higher close rates thanks to professional documentation
More than 5,000 specialist contractors already use Airteam - for over 70,000 projects!
Pricing for drone-based roof inspections
Typical price ranges based on Airteam's experience:
- €199-399 per residential building
- €499-899 for commercial roofs from around 500 m²
Just a few projects are enough to cover the cost of software and equipment.
Avoid common mistakes
Too little image overlap: Plan enough images per flight - this is crucial for 3D quality.
Poor weather conditions: Only fly in good conditions to ensure image sharpness and safety.
Ignoring legal requirements: Clarify flight permissions for crowds or sensitive areas.
Lack of communication: Inform neighbors to avoid misunderstandings.
No standard checklist: A checklist maintains quality - even when pilots change.
Next steps: How to get started easily
- Choose a pilot project: Start with a manageable site.
- Handle the legal side: A1/A3 license, registration, insurance.
- Test Airteam: Try the platform and compare it with your current methods.
- Create a service package: Combine roof measurement, inspection, and photo documentation.
Try Airteam with no risk:
FAQ on commercial drone surveys for roofers
1. Which drone is suitable?
- Compact multicopters with a 20 MP or higher camera
- 25-30 minutes of flight time
- C classification (C1/C2), GNSS/RTK, and reliable support
The right choice depends on your use cases and workload.
2. Is a drone pilot license mandatory?
Yes, in almost all cases. For commercial roof inspections, the EU A1/A3 Certificate of Competency is mandatory; registration and insurance are also required.
3. How accurate are the measurements?
With Airteam and RTK drones, measurement data are up to 99.9% accurate with 1-3 cm tolerance, verified according to DIN SPEC 5452-5.
4. When will my data be ready?
The 3D model is usually available within 24 hours; detailed data follow within 2-7 business days.
5. Can I get started without owning a drone?
Yes, for example via professional pilot networks or the Airteam pilot service - you focus on analysis and planning.
With a structured process and modern technology, Airteam makes commercial drone surveys efficient, precise, and safe - creating real added value for your roofing business.