Commercial and industrial (C&I) PV projects on warehouse and industrial roofs are under massive time and cost pressure. At the same time, clients expect clean CAD plans, reliable yield forecasts, and execution without costly change orders. The way to achieve exactly that with drone-based surveying and integrated planning can be seen in the day-to-day work of companies that design and build large roofs every single day.
This article summarizes the key points and lessons learned - grounded in real practice and from the perspective of companies working with Airteam and PVcase.
Table of contents
- Why traditional surveying slows down C&I PV projects
- Airteam + drone: A DIN-compliant 3D roof model within 24 hours
- From 3D model to finished PV design in PVcase Roof Mount
- Practical example Enlumin: How a typical C&I project runs
- The most important benefits at a glance
- How companies get started with the Airteam-PVcase workflow
- FAQ: Frequently asked questions on integrating Airteam & PVcase
1. Why traditional surveying slows down C&I PV projects
Especially on existing roofs, the first step is always the same: you need a reliable picture of roof geometry, obstacles, heights, and clearances. According to Airteam, this is exactly where the biggest risks lie:
- Time consumption: Traditional surveying with ladders, scaffolding, and tape measures easily takes a full day for a larger commercial roof - often with two people.
- Error-prone: Dimensions are forgotten, sketches are incomplete, and roof windows or structures are missing in the drawing.
- Safety risks: Working on the roof remains a source of accidents - even in early project phases.
- Data gaps: Satellite images are blurry, outdated, and useless for details like lightning protection, roof ladders, or anchor points.
Jos from Airteam puts it plainly: in the past, people worked with folding rules, sketches, and Google Maps - today, this is "no longer viable for serious PV planning on large roofs."
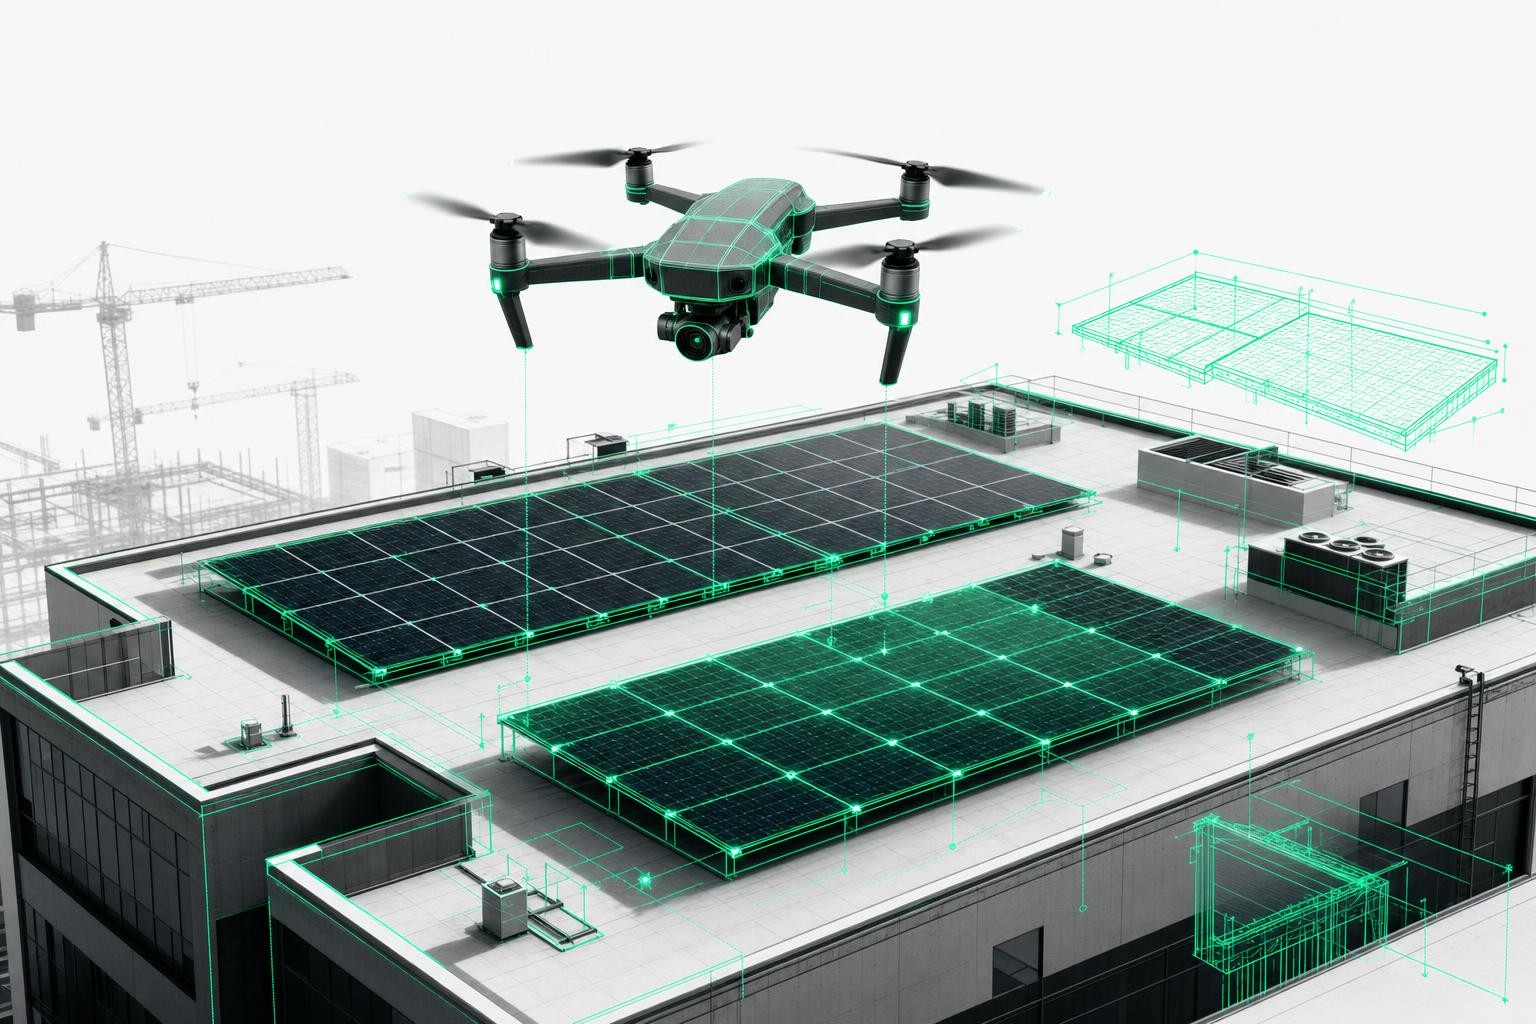
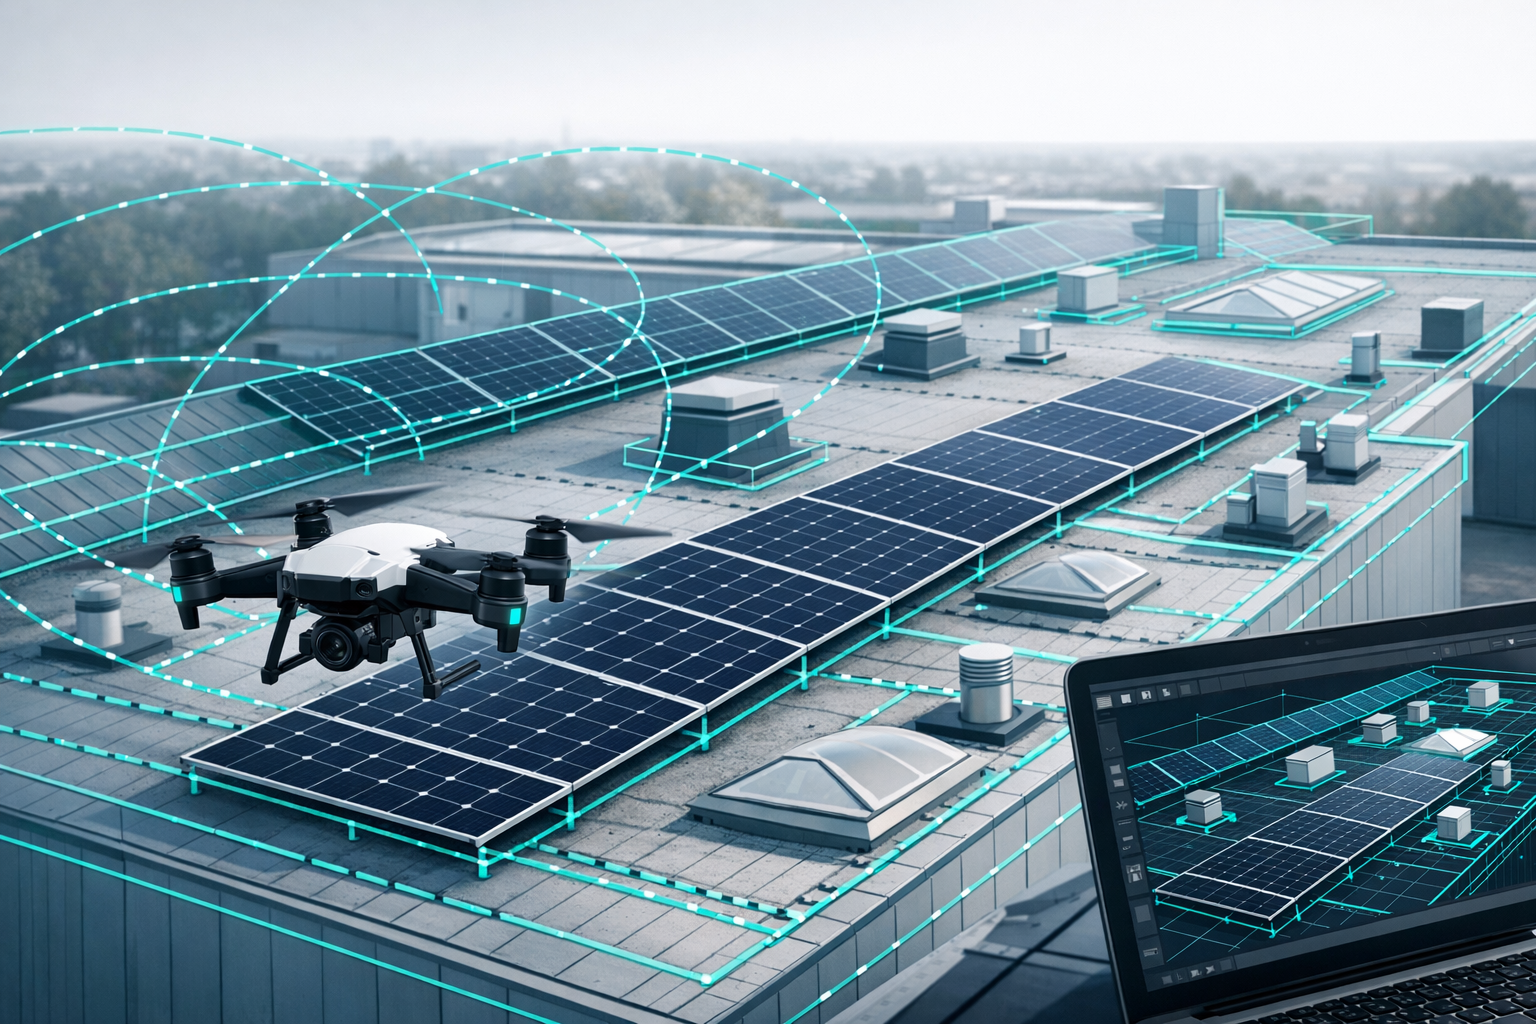
2. Airteam + drone: A DIN-compliant 3D roof model within 24 hours
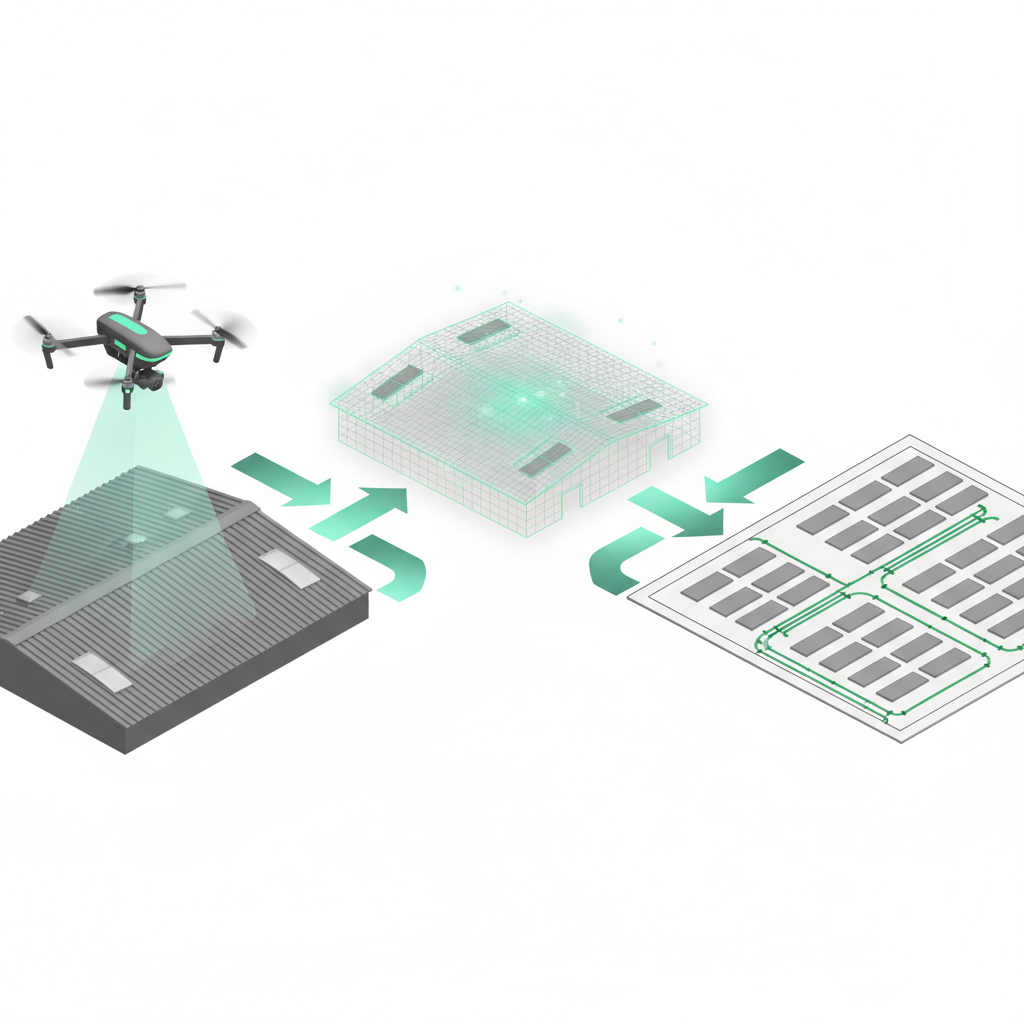
Airteam uses drone flights and AI to turn simple aerial images into a centimeter-accurate, DIN-compliant 3D building model - including all relevant roof details.
What a typical project looks like
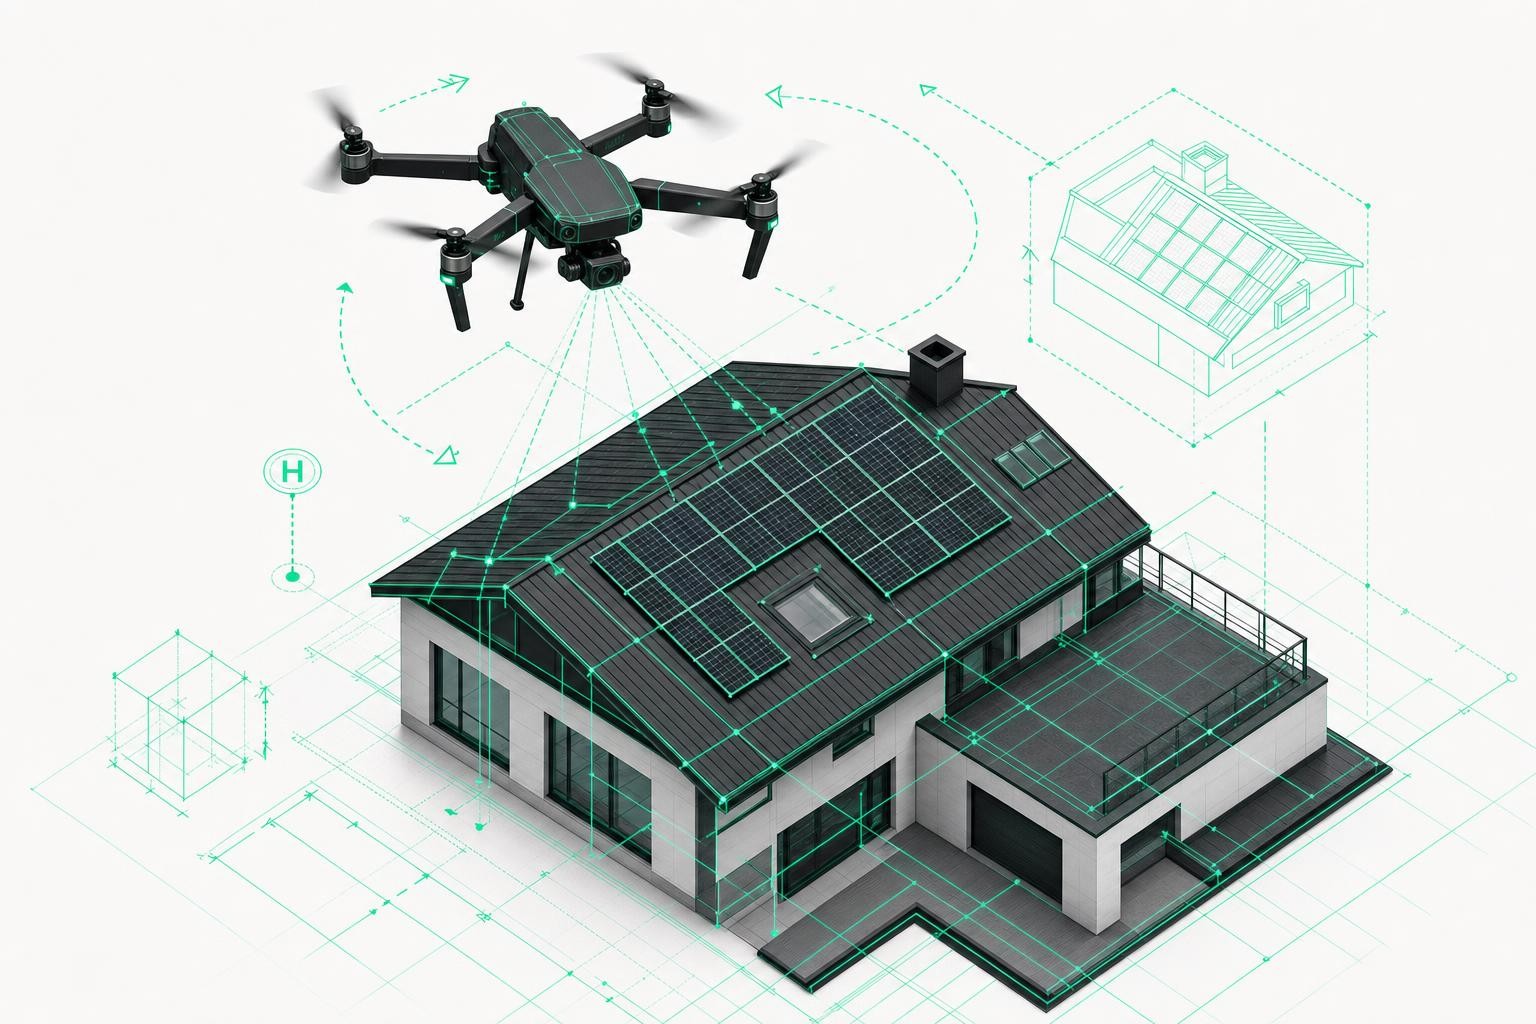
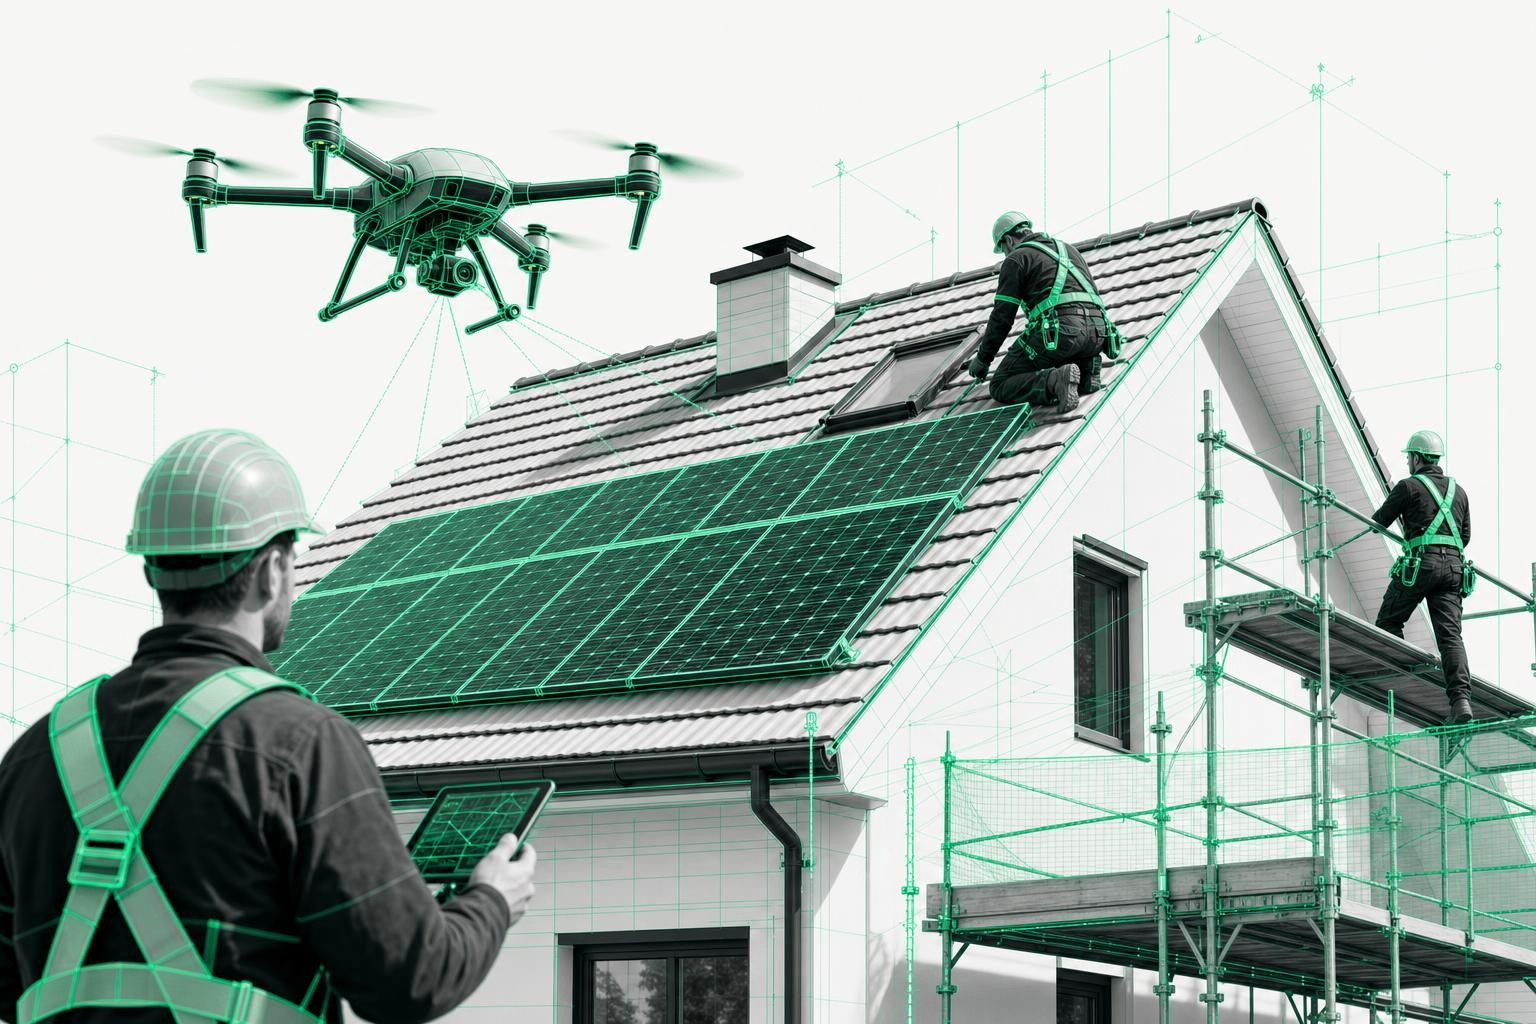
Step 1: Drone flight - safely from the ground
- Unfold the drone, mark the roof area on the controller, and start the automated flight.
- The drone flies in a circle (hyperlapse) around the building and captures overlapping images - every detail is recorded multiple times.
- For larger roofs, Airteam uses RTK drones with 20-megapixel cameras to achieve tolerances of around 3 cm at 40 m altitude.
"No one climbs onto the roof anymore. The drone does the work while you have time for the client." - Jos
Step 2: Upload & processing in the Airteam Fusion Platform
- Images are uploaded to the project via the browser.
- The AI generates a 3D model of the building, and Airteam performs an additional manual quality check.
- Result: a centimeter-accurate 3D roof model with all surfaces, inclinations, and rooftop structures.
Step 3: Planning data & exports
Airteam then generates planning data from the 3D model:
- 2D/3D CAD data (e.g. DWG/DXF)
- Simplified roof geometry for PV design software
- Exports for more than 25 common tools - including PV*SOL, Eturnity, AutoCAD, SEMA, and of course PVcase Roof Mount
Typical delivery times:
- 3D model: by the next working day at the latest
- CAD/PV design data: usually the following day
This gives you a solid digital foundation for any C&I PV design within 24-48 hours - without ever having been on the roof.
3. From 3D model to finished PV design in PVcase Roof Mount
Roman from PVcase demonstrates how the Airteam file turns into a fully usable 3D roof model in PVcase Roof Mount in just a few minutes - including obstacles and exclusion zones.
Import workflow in AutoCAD + PVcase
- Open the DWG from Airteam
- Airteam supplies a CAD-compatible file with roof outlines and objects.
- Start PVcase Roof Mount
- Activate the PVcase plugin in AutoCAD.
- Convert the Airteam roof
- In the "Convert Drawing" dialog, select the Airteam type and import the roof area(s).
- PVcase then creates a true 3D roof model with heights and inclinations.
Roman sums it up: "In just a few minutes, we have a highly accurate 3D model of the roofs - without typing in a single dimension manually."
Obstacles as 3D objects with exclusion zones
Next, the objects on the roof - for example:
- smoke and heat exhaust hatches
- HVAC units
- chimneys
- upstands / parapets
are classified as 3D objects in PVcase. For each object type, you can define an individual minimum clearance (e.g. 50 cm, 1 m, etc.). PVcase automatically generates red exclusion zones around them where no modules can be placed.
The special aspect of the integration with Airteam: even small components like anchor points or lifelines can be included in the data - if requested, the Airteam team manually models these obstacles into the planning file so that PVcase can take them into account and keep those areas clear.
4. Practical example Enlumin: How a typical C&I project runs
Binyam Abraham, Managing Director of Enlumin GmbH, designs and builds PV systems for blue-chip corporations and mid-market companies on large commercial and industrial roofs. He uses Airteam and PVcase every day.
Enlumin's workflow step by step
1. Initial pre-design at the desk
- First assessment with Google Maps/Bing to roughly gauge the potential.
- No time-consuming site visit as long as there is no binding contract.
2. Contract & drone flight with Airteam
- After the contract is awarded, a site appointment is scheduled and Enlumin flies the roof themselves with a DJI drone.
- Images are uploaded to the Airteam Fusion Platform.
- In the project, Enlumin specifically selects: "Request file for PVcase".
3. Download data from Airteam
The Airteam dashboard then provides:
- the PVcase-compatible DWG file,
- a high-resolution aerial image (orthophoto),
- and the 3D view in the browser.
These data points form the basis for every subsequent step.
4. System design in PVcase Roof Mount
Binyam explains his approach:
- Open the Airteam DWG in AutoCAD and start PVcase Roof Mount.
- Convert roof surfaces, import parapets and obstacles, and set exclusion zones.
- Scale the orthophoto from Airteam and overlay it on the geometry to visually check whether all obstacles have been captured.
- Add any additional interfering objects with the "Roof Builder" if necessary.
For detailed questions - for example, the height of an HVAC unit - Enlumin uses the Airteam 3D view in parallel. The team measures directly in the browser:
- heights
- distances
- widths of rooftop structures
These actual dimensions are then fed back into PVcase and used for shading analysis and module clearances.
5. Module layout, string, and cable design
In PVcase, Enlumin defines among other things:
- module type, mounting configuration (e.g. 10° east/west), row spacing
- module fields per roof surface
- minimum distances to roof edges, lifelines, and lightning protection
For electrical design, Binyam highlights two key aspects:
- String design: Manual or automatic stringing, including predefined cable lengths at the module.
- Cable tray design:
- Tray widths depending on cable count (e.g. up to 32 cables -> 100 mm tray, up to 64 cables -> 200 mm tray).
- PVcase calculates cable lengths, voltage drop, and generates automatic cable routing.
"Cable tray design was one of the biggest game changers for us. What used to be a lot of manual work now runs through automatically - including cable lengths and loss calculations." - Binyam
At the end of the process, you have:
- a complete 3D layout of the roof,
- string diagrams,
- cable plans and a single-line diagram,
- yield forecast and reports as PDFs.
5. The most important benefits at a glance
For C&I solar installers and developers
- Up to 90% time savings during surveying - one drone flight replaces an entire day of onsite measurement.
- Centimeter-accurate, DIN-compliant data - fewer change orders and fewer surprises on site.
- Direct export to PVcase Roof Mount - no manual redrawing in AutoCAD.
- End-to-end 3D planning: from module layout and shading analysis through to electrical design and cable trays.
For roofing contractors and general contractors
- Safe surveying from the ground, eliminating risky initial roof inspections.
- Robust documentation: 3D models, measurement reports, CAD files.
- Better coordination with solar installers thanks to a shared data foundation.
For clients (C&I end customers)
- Realistic 3D visualization of the planned system already at proposal stage.
- Binding areas and module counts based on verified data.
- Shorter project timelines and predictable execution.
6. How companies get started with the Airteam-PVcase workflow
A clear entry path to get going:
-
Test the Airteam Fusion Platform
- Register for free and use all features for 14 days.
- No live project at hand? Sample projects for roofing and solar are available.
-
Carry out your first drone flight
- Use your own drone or book an Airteam pilot (network of around 1,600 pilots in the DACH region).
- Upload data, then wait for the 3D model and PVcase file.
-
Use PVcase Roof Mount on a real project
- Request a demo or trial license from PVcase.
- Run your first project entirely through the Airteam-PVcase workflow - from surveying to string and cable design.
7. FAQ: Frequently asked questions on integrating Airteam & PVcase
Do I absolutely need AutoCAD to use this workflow?
Yes. PVcase Roof Mount runs as a plugin within an AutoCAD environment (3D-capable Autodesk products). If you have only been working with PV*SOL or similar tools so far, you will need a suitable AutoCAD license for PVcase. However, Airteam data can also be exported into other design tools if AutoCAD is not available in-house.
What if I do not have my own drone or a pilot?
Airteam offers two options:
- Starter kits including drone, training, and platform access.
- A nationwide pilot network that performs the flight on site. You receive the finished 3D and PVcase data directly and can start designing straight away.
How accurate is the data - is it sufficient for C&I projects?
Airteam works with modern drones (from 12 MP, RTK drones with 20 MP recommended). The resulting models typically achieve tolerances of just a few centimeters, which is more than sufficient for C&I planning, preliminary structural assessment, and tendering. For millimeter-level requirements (e.g. special structural analysis), drone surveying can be complemented by additional measurement methods.
Is it worth switching from an existing 2D design or PV software?
Many companies start with a rough design in their current software and use Airteam + PVcase primarily for:
- large or complex roofs,
- projects with high requirements for documentation and cable design,
- clients who expect DWG drawings and detailed documentation.
Binyam sums it up: "Our clients expect CAD drawings today. With Airteam and PVcase we can deliver them efficiently - with a clean data foundation from the very first drone flight."
Anyone who wants to calculate C&I PV systems reliably, implement them faster, and document them cleanly can hardly avoid digital 3D surveying anymore. The combination of Airteam drone-based surveying and PVcase Roof Mount shows what this looks like in practice - without complex IT projects, but with clearly measurable added value for design, execution, and the client.