Commercial drone imaging is long past being just a "nice to have." In scaffolding and the skilled trades, it now decisively influences how quickly you prepare quotes, how safely your team works, and how accurately you can plan.
This guide walks you through, step by step:
- how to use drone imagery specifically for scaffolding design, façade measurement, and safety assessment,
- which legal requirements matter in 2026,
- what the workflow looks like from drone flight to the finished 3D façade model,
- the role of AI-powered platforms such as the Airteam Fusion Platform,
- and how to integrate drones into your business in a practical way - even without owning a drone yourself.
You can find more on costs, service types, and use cases in the main article "Commercial Drone Imaging 2026: Overview of Costs & Services" on the Airteam blog.
Prerequisites: What you should clarify before your first drone flight
Before you start using drone imagery, these basics are essential:
Technology & software
- Suitable drone with camera, gimbal, and GNSS/RTK support
- Image resolution of at least 20 MP for accurate measurement
- Stable control (e.g. remote controller or smart controller)
- Cloud software for digital measurements such as the AI-powered Airteam Fusion Platform
- Optional: thermal camera for roofs and PV systems
Legal & safety
- Registration with the Federal Aviation Office (LBA)
- EU drone license: A1/A3 certificate of competency, and where applicable the A2 remote pilot certificate
- Commercial drone liability insurance
- Understanding of the EU Drone Regulation (OPEN categories A1/A2/A3)
For commercial flights with drones over 250 g (open category), an EU drone license is mandatory
- Designated point of contact responsible for drone operations
- Standardized checklist for every flight (weather, surroundings, permits)
- Clear folder structure for projects and image data
- Staff training in handling 3D models and plans
If you do not want to fly yourself, use pilot networks or starter kits - for example packages that include a drone, training, and software access.
Tip: Specialized starter kits for trades businesses bundle a drone, training, and access to the Airteam Fusion Platform in a simple all-in-one package.
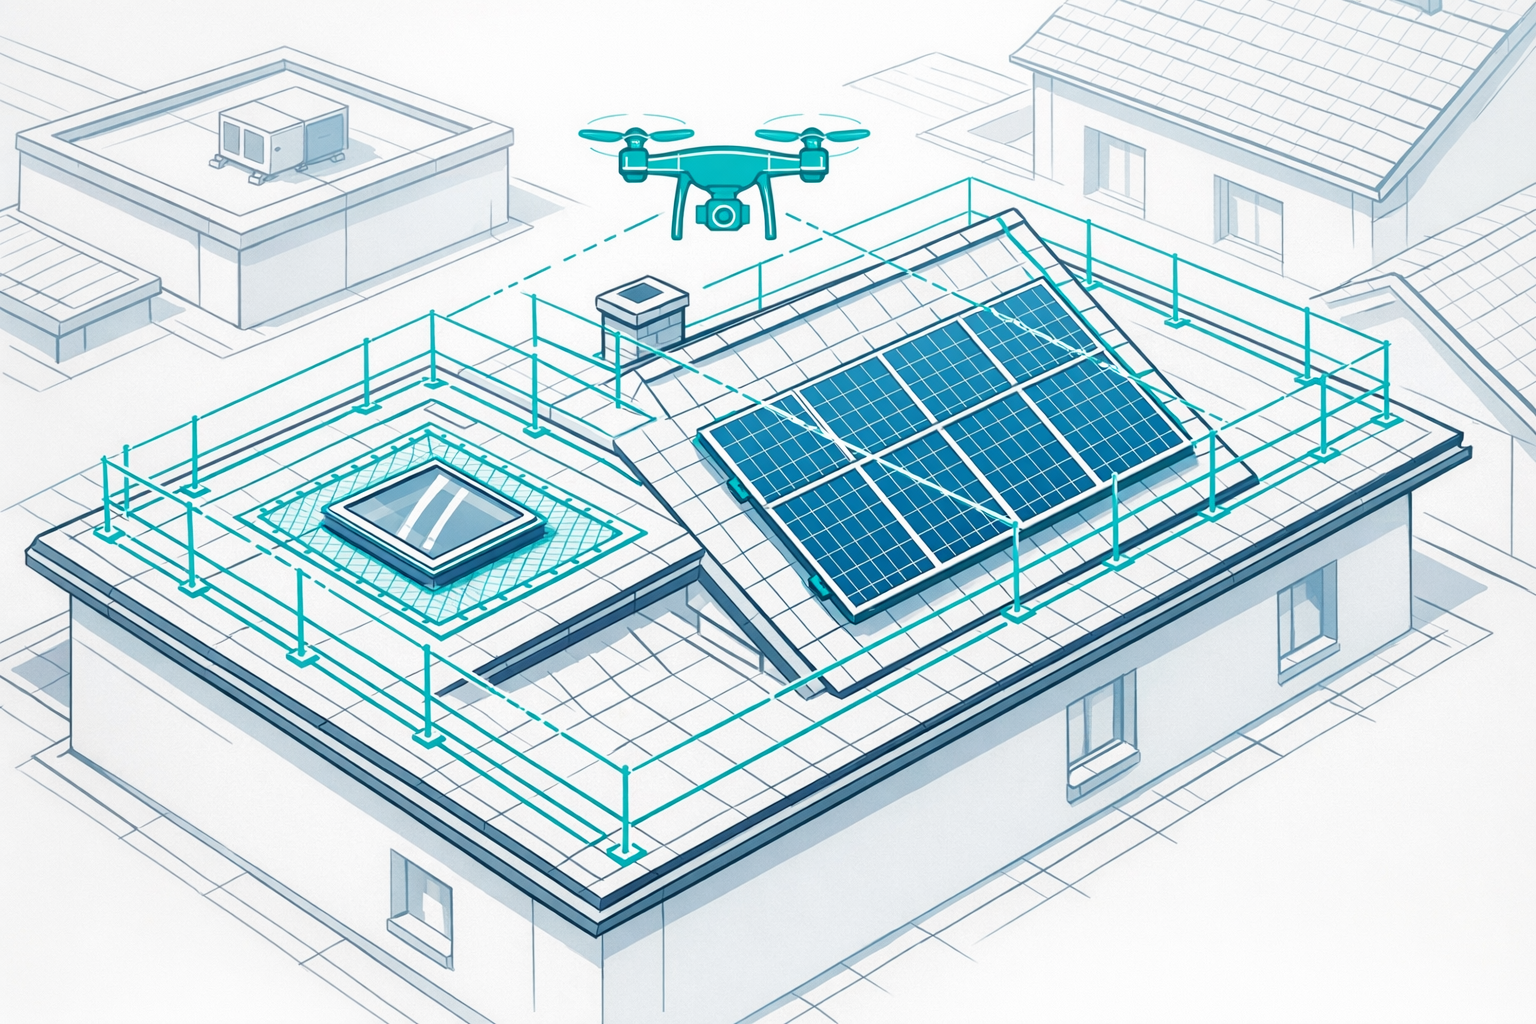
Step 1: Clearly define use cases for scaffolding and the trades
Before you invest, think about what you want to use drone imaging for. Typical applications include:
- Façade measurement for scaffolding
- Capture heights, widths, bays, balconies
- Plan load classes, bay lengths, and anchor points
- Safety assessment
- Check loose components, roof overhangs, cornices
- Identify hazards before scaffolding is erected
- Roof measurement & PV planning
- Measurements for roof refurbishment, PV modules, fall protection
- Construction documentation & billing
- Before/after documentation
- Area calculations for quotes and documentation
Digital façade measurements by drone are in high demand: since early 2025, Airteam has recorded an increase of around 340% in façade projects
The more clearly you define your needs, the more precisely you can select technology, software, and workflows.
Step 2: Understand legal requirements and flight zones
Drone flights on construction sites are subject to clear rules. You will generally operate in the open category (OPEN) of the EU Drone Regulation - with the subcategories A1, A2, A3.
In brief:
- A1: Flights close to people, no flights over large crowds, usually with light C0/C1 drones
- A2: Flights closer to uninvolved persons with more powerful drones - the typical use case in the trades around occupied buildings
- A3: Flights with a large separation from uninvolved persons (e.g. open fields)
In A2 a minimum distance of 30 m to uninvolved persons applies[1]
On top of that, there are national rules on no-fly zones, separation distances, and data protection.
Common mistake: "We are only flying briefly, nothing will happen." Without registration, license, and insurance you risk fines, delays, and liability issues.
You will find the detailed Airteam article on the drone license for trades businesses on the blog.
Step 3: Choosing the right drone for scaffolding and façades
Compact, professional camera drones are ideal - for example C1-certified models with a 20 MP camera and optional RTK module.
Key criteria:
1. Camera & gimbal
- At least 20 MP resolution
- 3-axis gimbal for stable images
- Flexible camera angles (vertical, oblique)
2. Positioning accuracy
- GNSS (e.g. GPS, Galileo)
- Optional RTK for maximum precision
Airteam software typically delivers about 99.7% accuracy with GPS-only drones (around 10 cm at 40 m), and up to 99.9% accuracy with RTK (deviation 1-3 cm)
3. Safety features
- Obstacle detection
- Return-to-home function
- Flight time of at least 25-30 minutes per battery
4. Site suitability
- Robust and quick to deploy
- Spare batteries, ND filters, and chargers suitable for on-site use
Tip: Try starter kits before you commit to a bigger investment. Airteam offers starter kits specifically for roofers, solar installers, carpenters, and scaffolding contractors, including training and software access - learn more now.
Step 4: Flight planning for scaffolding and façade projects
Structured flight planning is crucial for image quality and data density - especially on complex façades.
4.1 Analyze the structure and its surroundings
- Location (city center, industrial area, residential building)
- Obstacles: trees, power lines, neighboring buildings, traffic
- Define take-off and landing zones
- Identify possible restricted areas (schools, hospitals, railways)
4.2 Define the flight pattern
For façade measurement, the following patterns have proven effective:
- Vertical flight paths along the façade (with overlap)
- Circular flight around the building at a constant distance
- Detailed close-ups of critical areas (e.g. dormers, parapets)
Tip: More overlap (60-80%) gives the AI more data to create a clean 3D model.
4.3 Choose weather and time of day
- Diffuse light (overcast) ensures even textures
- No strong winds, no rain, good visibility
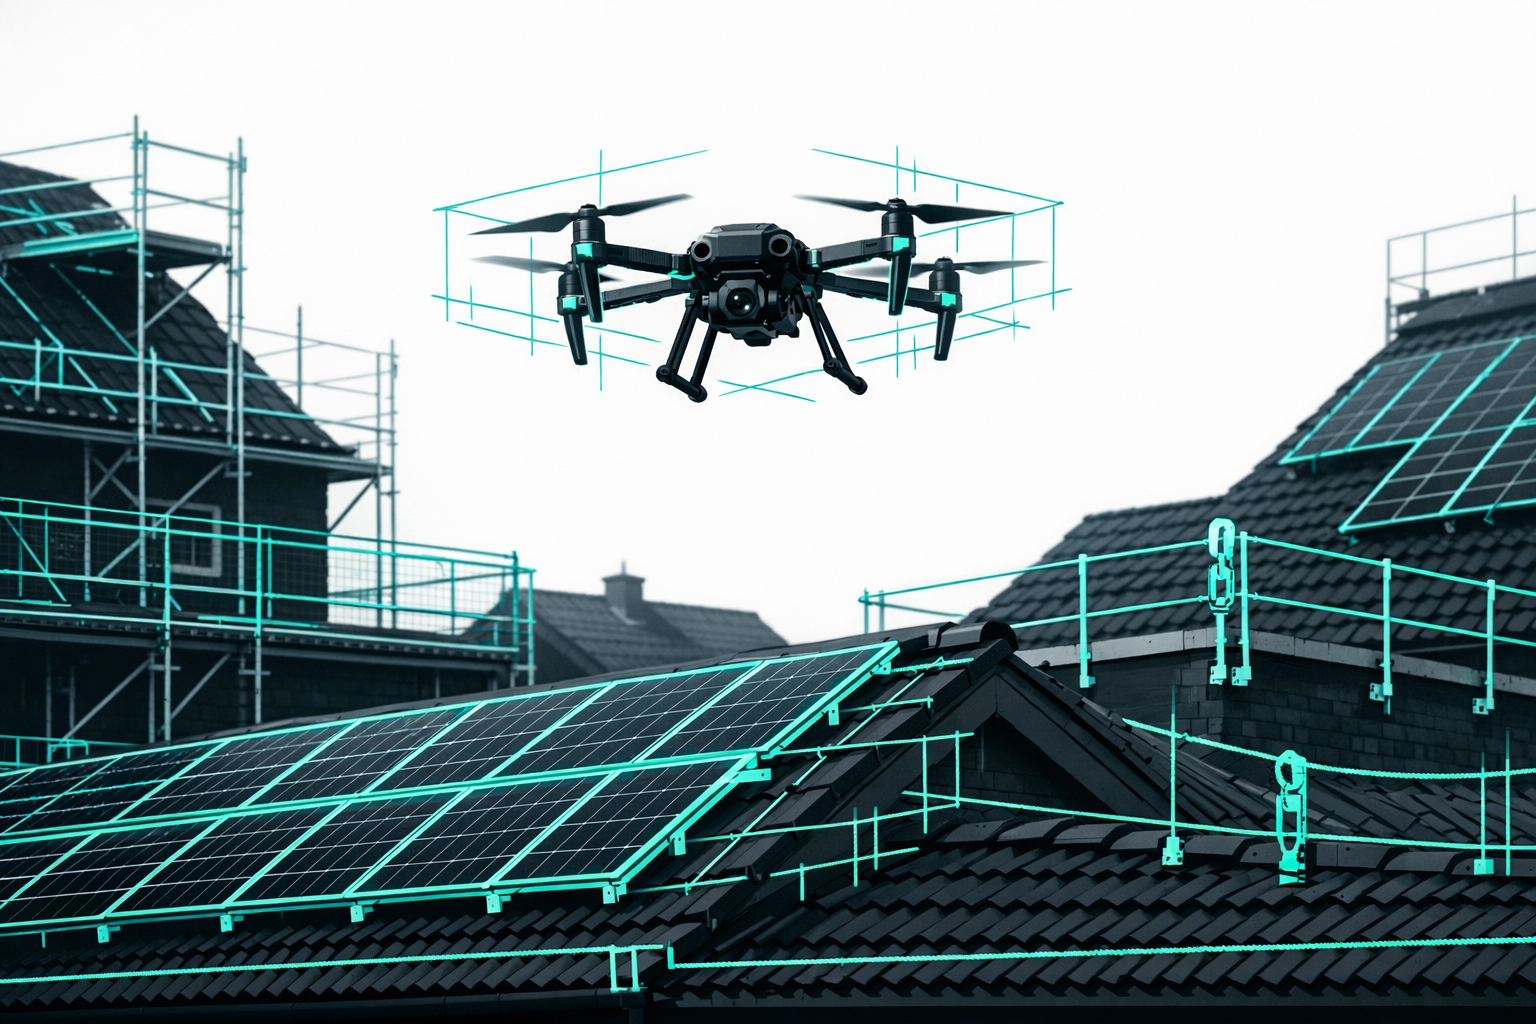
Step 5: Carry out drone flights safely on site
On the day of deployment, the process should be standardized.
Before take-off
- Visual inspection of the drone (propellers, gimbal, sensors)
- Batteries charged, memory card empty
- Set home point, check compass/RTK
- Check airspace
- Inform staff, mark off the safety zone
During the flight
- Maintain line of sight
- Observe altitude and distance rules
- Follow planned flight paths precisely, ensure sufficient overlap
- Land if in doubt
After the flight
- Spot-check image quality
- Back up data immediately
Common mistake: Too few or unstructured images will cost you time later during analysis.
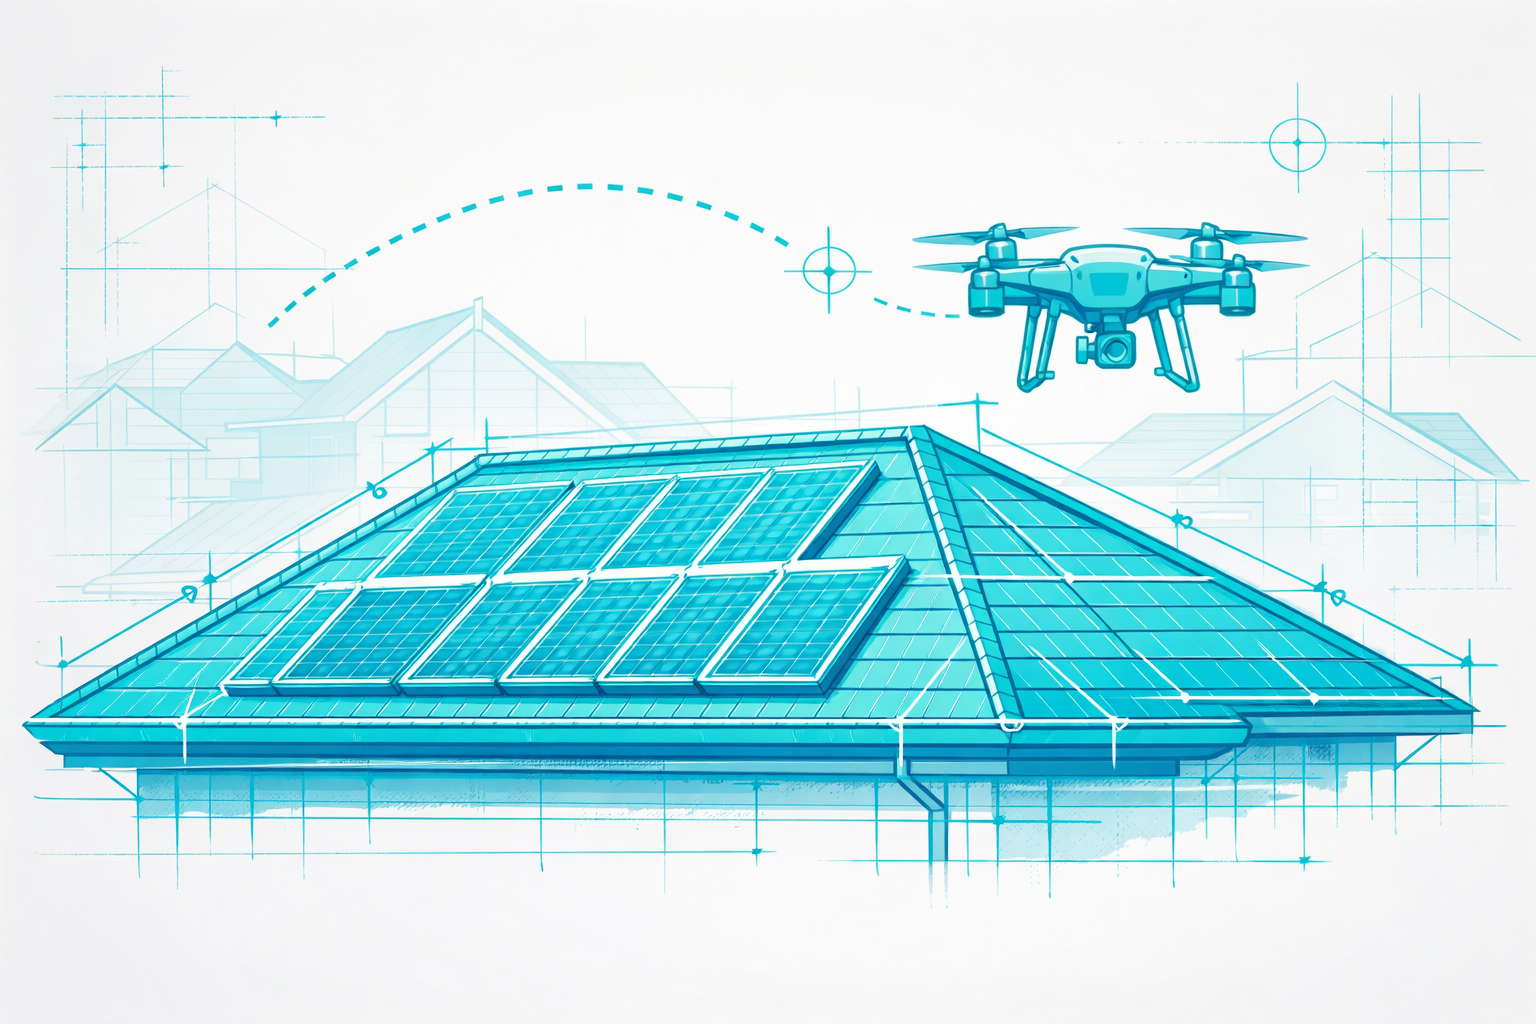
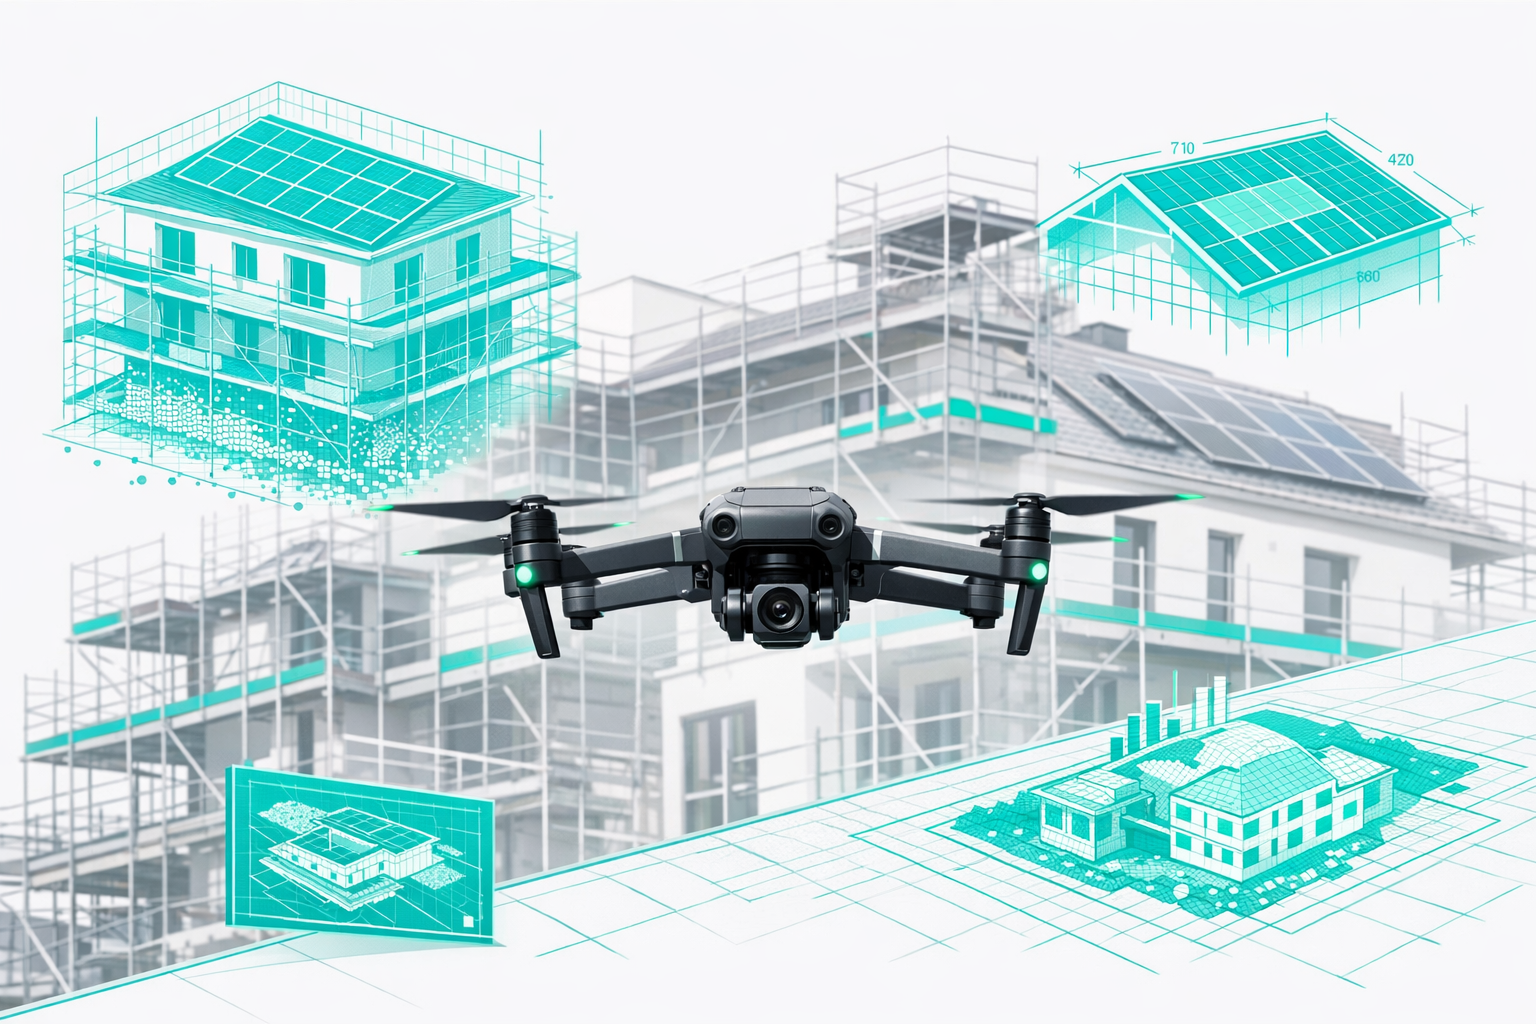
Step 6: Turning drone images into an accurate 3D façade measurement
The Airteam Fusion Platform automates the workflow:
- Upload images to the cloud platform
- AI analysis:
- Photogrammetry and model generation
- Detection of surfaces, openings, and edges
- 3D model creation (roof and façade)
- Measurement tools in the browser (lengths, areas, distances - for example for anchor planning)
- Export to standard formats for CAD, scaffolding design, or PV planning
The Airteam Fusion Platform usually delivers fully automated 3D models within 24 hours
For scaffolding contractors, Airteam offers a dedicated 3D façade measurement as a straightforward solution: fly, upload images, receive the model. You can find more details on the façade measurement for scaffolding page with drone and AI.
Step 7: Using the data in scaffolding design and the trades
In scaffolding
- Accurate surface and length data
- Precisely plannable anchor points
- Reliable calculation of materials and logistics
- Clean documentation for bids and verification
According to Airteam, digital façade measurements in refurbishment projects enable calculations up to ten times faster and eight times more precise
In roofing and solar
- Shared 3D models for roofers and solar installers
- PV planning directly in the model, including shade analysis
- Planning of edge protection and fall arrest systems
In real estate management
- Visual communication with clients and authorities
- Digital documentation for future inspections
Tip: Share 3D models via link - this allows your client to check measurements directly in the browser.
Step 8: Scaling drone use in your business - flat rates, credits & processes
1. Define processes
- Responsibilities (pilot, data upload, quoting)
- Standardized project names and data structure
- Standard checklists for flights and data protection
2. Choose the right pricing model
- Single projects for occasional use
- Flat rates for regular surveying
- Credits for large or complex projects
Airteam combines flat rates and credits to map even large projects efficiently
3. Secure training and know-how
- Train several employees as pilots and software users
- Run team workshops for analysis and documentation
- Share best practices
Tip: Use the Airteam success stories as presentation material in client meetings view here.
Common mistakes and how to avoid them
Mistake 1: No clear objective
Decide whether you want to save time, improve safety, or offer new services.
Mistake 2: Underestimating legal requirements
Sort out registration, licensing, and insurance before your first project.
Mistake 3: Focusing only on hardware
The real value comes from AI analysis and 3D models.
Mistake 4: Not integrating results into your processes
Actively incorporate 3D models into quoting, planning, and documentation.
Next steps: How to get started within the next 14 days
- Choose a use case - for example "façade measurement for scaffolding"
- Clarify legal requirements - check registration, license, and insurance
- Define a pilot project - select a site for initial testing
- Drone flight & analysis - convert the data into a 3D model with the Airteam Fusion Platform
- Compare results - evaluate time and accuracy gains - often up to 90% time savings
Trades businesses report that with drone measurement and AI analysis they can cut the time required for roof and façade surveying by up to 90%
Frequently asked questions from scaffolding contractors and tradespeople
1. As a scaffolding contractor, do I need a drone license?
Yes. Commercial camera drones over 250 g require at least the EU A1/A3 certificate of competency, and often also the A2 remote pilot certificate. Commercial liability insurance is mandatory as well. All details are covered in the Airteam guide.
2. How much time can I save?
Experience shows: roof and façade measurements can usually be completed in minutes instead of hours.
Drone-based surveying often reduces the time required by up to 90%
3. What are the concrete benefits?
- Faster, more accurate façade measurements
- Greater planning reliability
- Increased safety thanks to aerial inspection of critical areas
- Professional documentation for clients
Especially with complex façades or large buildings, this makes your processes far more efficient.
4. How do I comply with data protection when capturing images?
Capture only the areas you actually need and observe data protection rules. Avoid recording neighboring properties, inform local residents, and store data strictly on a project basis.
5. Can I get started without owning a drone?
Yes. Use external pilots and focus on analysis and planning. With starter kits and training, you can gradually build up your own capabilities - without having to invest in hardware right away.