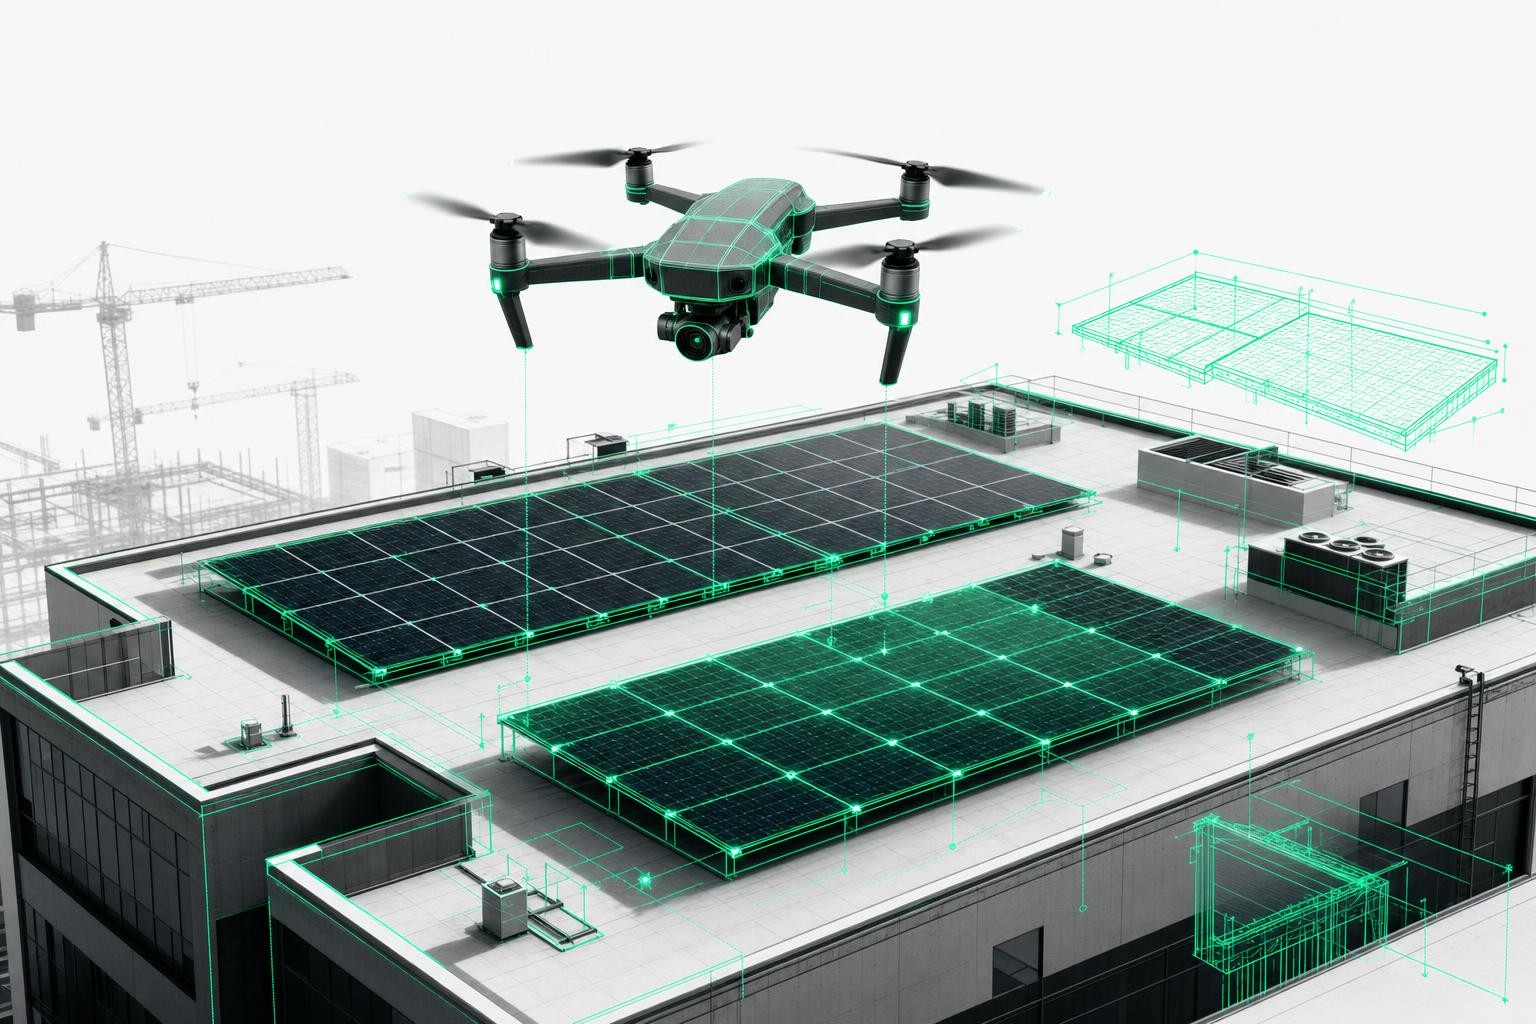
With just one 3D survey you can manage the entire PV installation today - from quote calculation through to installation, documentation, and maintenance.
In this guide, you'll learn as a solar installer how to use 3D models (for example from the Airteam Fusion Platform) effectively for your site management, material planning, and construction scheduling.
You'll discover:
- how to systematically integrate a 3D survey into your project workflows,
- how to plan materials, scaffolding, and crane operations directly from the model,
- how to use 3D models to keep your teams informed and minimize follow-up questions,
- how to reuse the model for maintenance and inspection.
Modern drone surveying reduces the time needed for roof measurements by up to 90% compared to manual measurement - a lever that pays off across the entire process chain of your PV projects.
Requirements: What you need before you start
Before you organize your site management around 3D surveys, you should ideally clarify the following points:
- Access to drone footage
- Your own drone + pilot in the team or
- external drone pilot service (for example via Airteam pilots)
- Account in 3D surveying / cloud software
e.g. Airteam Fusion Platform for AI-powered 3D building modeling from drone imagery. - Devices on site
- Tablet or laptop to access the 3D model on site
- Stable internet connection or offline exported data (PDF, screenshots, CAD/PV files)
- Clear responsibilities
- Who plans the drone flight?
- Who checks the model?
- Who uses it for material planning, scaffolding, crane, and installation?
- Integrated partners
- Scaffolders, crane companies, and if needed structural engineers and roofers should know that you are working with 3D data and what information they will receive from it.
Tip: If you're just getting started, 3D building surveying with drones: How it works in 5 simple steps gives you a solid overview.
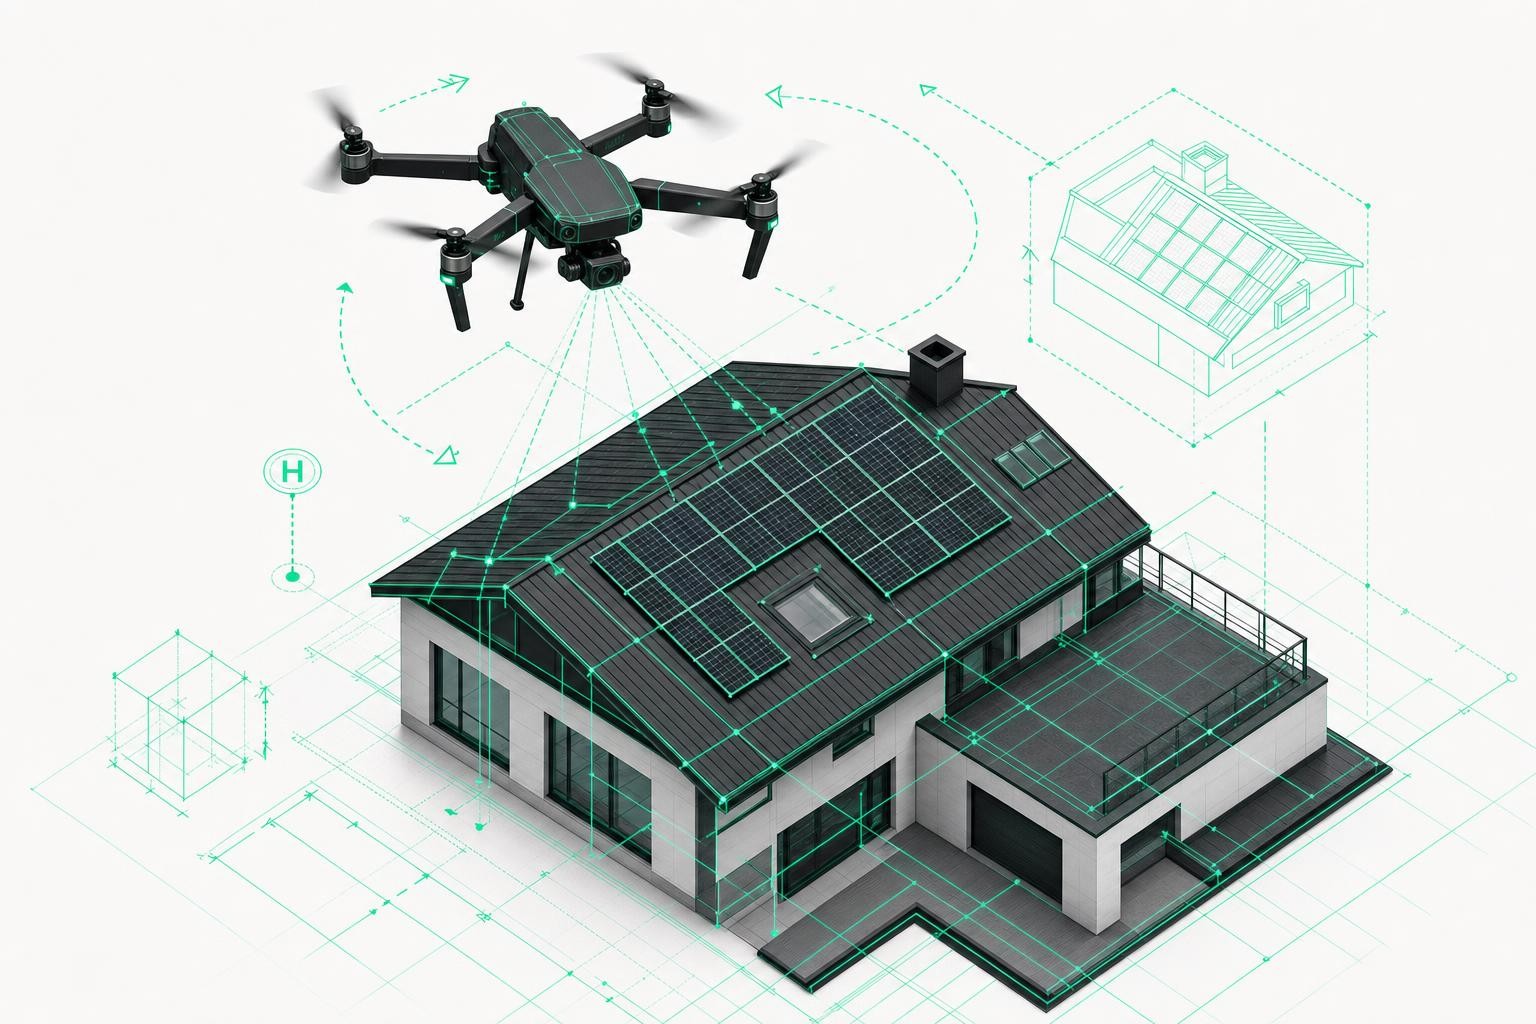
Step 1: Create the 3D survey and define it as your single source of truth
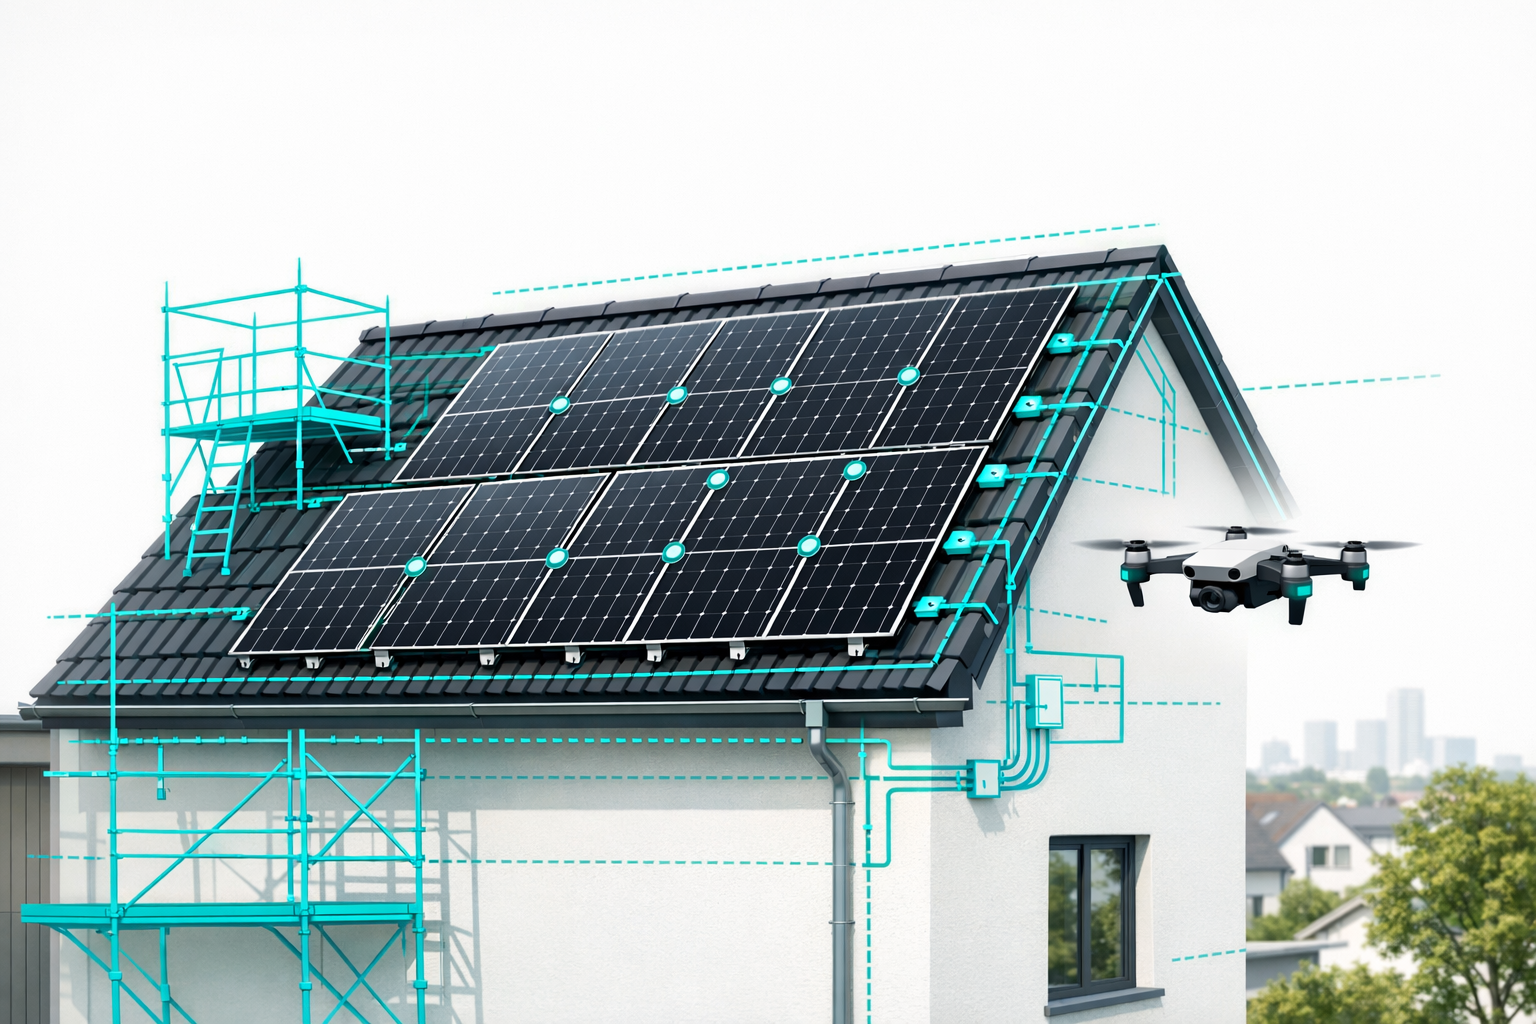
1.1 Plan and execute the drone flight
- Assess the site
- Check location, size, roof type, and obstacles.
- Verify local legal requirements (such as no-fly zones).
- Plan the flight path
- Plan sufficient image overlap, especially for complex roofs.
- Capture the roof
- Use a short flight to capture the entire roof and facade.
With Airteam, a 5-minute flight is usually enough to fully measure the roof, skylights, chimneys, and dormers.
Common mistake:
Too little image overlap or missing perspectives lead to gaps in the 3D model. It's better to plan one additional flight path than too few.
1.2 Upload images and generate the 3D model
- Upload images to the cloud software
- For example, directly into the Airteam Fusion Platform.
- Wait for automatic AI analysis
- The 3D building model is generated automatically, and roof areas and edges are detected.
The Airteam Fusion Platform typically delivers a quality-checked 3D roof model from the uploaded drone images within 24 hours.
The accuracy of the digital surveys is up to 99.9%, with only 1-3 cm tolerance at 40 m. This meets the DIN requirements for roof measurements.
1.3 Check the model and use it as the project baseline
- Visual inspection
- Has everything been captured?
- Are all structures and shading elements visible?
- Name the roof areas
- For example, "Gable roof south", "Extension east" - this makes coordination easier.
- Create a project folder
- Store the 3D model, screenshots, exports, quotes, etc. under the same project number.
This way, the 3D model becomes your end-to-end data foundation: every subsequent step - from quotes to maintenance - is based on the validated geometry data.
Step 2: Derive material planning directly from the 3D survey
With 3D models, you achieve maximum precision in material planning:
- Determine usable PV areas
- Check shading, clearances, and obstacles directly in the model.
- Plan module layout
- Create the PV layout in your planning tool (e.g. PV*SOL, Eturnity, SolarEdge Designer) using the 3D data.
- Roof pitch, orientation, and objects are included automatically.
3D data from Airteam can be exported directly to PV planning tools such as PV*SOL, Eturnity, or SolarEdge Designer, preventing media breaks
- Calculate mounting structure and roof hooks
- Read dimensions, rafter positions, and edge distances precisely.
- Plan cable routes and string layout
- Identify the shortest routes to inverters and minimize roof penetrations.
Up to 30% of PV projects suffer from planning errors, mostly due to inaccurate data. A precise 3D survey significantly reduces this risk.
Tip:
Create a material list that is driven by the 3D data. This way, changes to the model can be transferred in just a few minutes.
For a complete workflow, take a look at From drone and AI to perfect PV planning.
Step 3: Coordinate scaffolding, crane operations, and safety using 3D models
Scaffolders and crane companies benefit especially from exact dimensions:
3.1 Scaffolding design
Provide your scaffolder with the following from the 3D model:
- facade heights and lengths,
- projections, bays, overhangs,
- annexes and side wings,
- access situations.
Using 3D facade models, scaffolders can calculate the amount of scaffolding material down to the centimeter and import it into Scaffmax or other software
Source of errors:
If scaffolding is planned just by "eyeballing" on site, this leads to extra trips and additional deliveries. Always hand over complete data from the model instead.
3.2 Crane position and site logistics
With the 3D model you can:
- plan the crane position (reach, obstacles),
- organize access routes and storage areas, and
- detect potential conflicts early.
Screenshots or logins to a 3D viewer give your partners the best possible support.
Step 4: Construction scheduling and team communication with 3D support
3D surveys are easy for the entire team to understand - even without specialist software.
4.1 Prepare team meetings
Use the 3D model for:
- Kick-off meetings
- Visualize roof areas, module rows, walkways, and hazard zones.
- Daily coordination on site
- Review critical areas in the model and agree on changes directly.
Airteam customers report significantly fewer questions from installation teams thanks to this shared visual basis.
4.2 Establish the 3D model as your binding reference
Define internally that:
- decisions on layout, hooks, scaffolding, etc. are always made based on the 3D model.
- changes are documented directly in the model.
This turns the 3D survey into a single planning reference for everyone involved in the project.
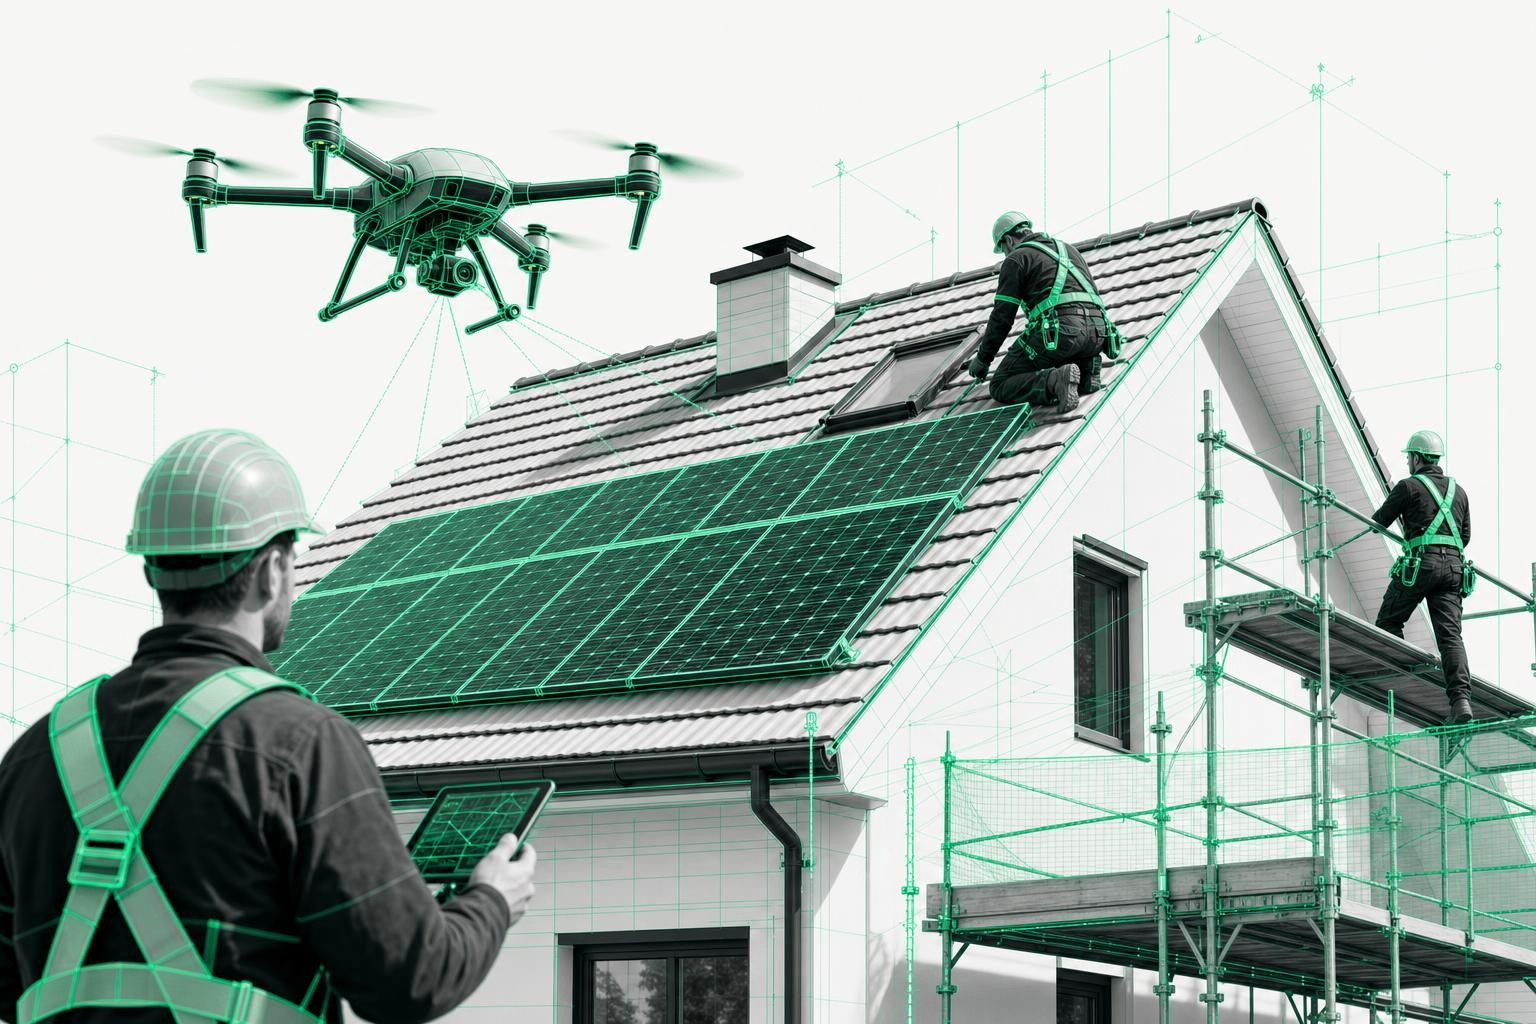
Step 5: Support installation, ensure quality, simplify documentation
5.1 Use the 3D model on site
Give your installation team access to:
- a tablet viewer or PDF exports,
- marked module fields, walkways, and anchor points,
- screenshots showing installation sequences.
Tip:
Print one or two views for the site diary and have any special features written in by hand. This bridges digital planning with traditional documentation.
5.2 Document defects and deviations in the model
With a 3D model plus photo navigation (for example in the Airteam update for drone inspection), installers can:
- mark issues directly in the model and
- pull up the corresponding detail photo.
This ensures that installation deviations and damage are clearly documented.
5.3 Handover and acceptance
- Create an acceptance report with screenshots of the final module layout.
- Add photos of critical areas.
- Attach the 3D model as a visual add-on to the final project report.
This increases transparency for your customer.
Step 6: Continue using the 3D model for maintenance and inspection
The major advantage of digital 3D surveys: "Create once, use many times."
- Regular visual inspections
- Integrate drone flights for roof inspection into the existing model.
- Thermal inspection
- Thermal images reveal hotspots that can be precisely located when combined with the 3D model.
- System expansion and repowering
- Plan extensions directly using the existing data.
More than 5,000 companies have realized over 70,000 projects with Airteam - clear proof from the field of how 3D models can be reused multiple times.
This way, your 3D survey becomes the long-term digital twin of your projects.
Practical checklist: Embedding 3D surveying in your business
Use this checklist to systematically integrate 3D surveys into your daily operations:
- Decision: For which projects will you always use a 3D survey (e.g. from 5 kWp upwards or for complex roofs)?
- Clear assignment of responsibilities for drone flights and data uploads
- Standard workflow defined: Flight -> Upload -> Model check -> Exports for PV, scaffolding, crane
- Templates created:
- Material list based on 3D data
- Standard screenshots (top view, south/north view)
- Acceptance / documentation template with 3D excerpts
- Team training:
- Sales (quotes with 3D visualization)
- Planning (export into PV software)
- Installation (using the model on site)
- First pilot projects evaluated (time savings, less rework, higher close rate)
Solar businesses that adopt Airteam report up to 48% less planning time and up to 25% lower project costs, while achieving higher energy yields
You can find real-world examples in the success stories.
Next steps: How to get started with 3D-based site management
- Select a pilot project
Choose a typical roof (e.g. 8-15 kWp) and run through the complete process - from drone flight to maintenance. - Measure the impact on time and costs
- How many hours do you save on measurement and planning?
- How many questions are eliminated on site?
- How well did material logistics work?
- Define your standard process
Adjust your workflows so the 3D model is used across all project stages. - Scale up
Use flat rates or credits so you can deploy 3D surveys cost-effectively on all projects.
Want to see it live? Book a free demo now.
FAQ: Common questions about 3D surveying in site management
1. How much time do I really save with 3D surveying?
Field experience shows: roof measurements with drones are up to 90% faster than traditional methods
In addition, the manual transfer of measurements into planning is eliminated.
2. Do I absolutely need my own drone?
No. You can either:
- purchase your own drone and train pilots, or
- use an external drone service or Airteam pilots.
What matters most is the quality and overlap of the images.
3. How do the 3D data get into my PV software?
Airteam supports exports in more than 15 formats, including PV*SOL, Eturnity, SolarEdge Designer, AutoCAD, SketchUp, and other industry solutions You simply export the desired format from the cloud software and import it into your planning tool.
4. What happens if the building changes after the survey?
Minor changes (for example an additional skylight) are documented in the model. For major alterations, it's best to do a new drone flight - the effort remains low and you keep your data up to date.
5. How do I train my team efficiently?
Start with a pilot project and work through each step together:
- Short introduction to the 3D model (navigation, measuring),
- joint material and scaffolding planning,
- use of the model on site with a tablet, collect feedback.
Then define internal standards ("How do we use the model in sales, planning, and installation?"). You'll find additional support on the Airteam Blog.