Commercial drone footage is standard for solar companies in 2026 - but many businesses still do not fully tap its potential for accuracy, shade analysis, and efficiency.
This guide walks you through, step by step, how to use drones and AI effectively in your PV projects. This enables you to get:
- Roof data accurate to the centimeter
- Precise system design - including shading and structural reserve
- Faster quoting and more persuasive sales presentations
- Safer, more predictable installations
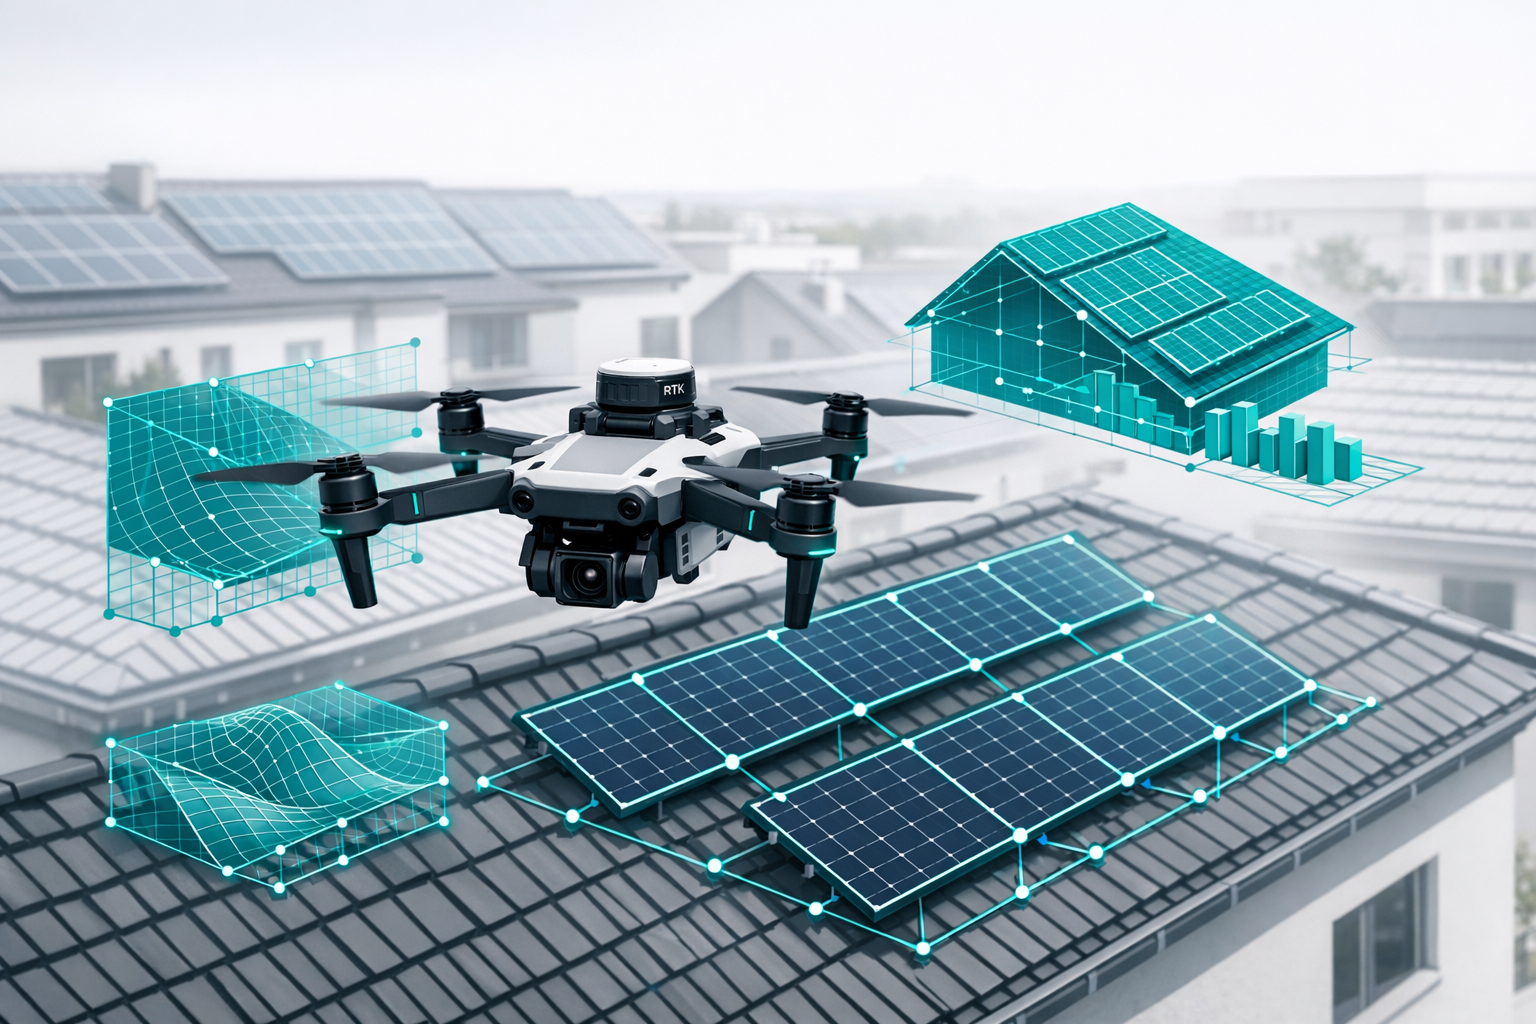
RTK-capable drones deliver positional accuracies of 2-3 cm for PV planning - a reliable basis for professional PV software. Commercial drone surveying cuts the time required compared with traditional methods by 75-97 %, depending on project size.
For a broad overview of costs, use cases, and providers of commercial drone footage in 2026, check the main article in the Airteam blog. This post focuses on PV solar companies and gives practical guidance on how drones, 3D models, and PV software work together optimally.
Requirements: What you need before you start
Before you begin using drone footage for PV projects, clarify the following basics:
1. Legal framework (EU & Germany)
- Review EU drone regulations (Open/Specific Category)
- Register the operator and label the drone with an eID
- Obtain competency certificates (A1/A3, and if necessary A2) depending on drone class and area of operation
- Observe take-off rules and data protection requirements (e.g. residential areas, industrial sites, people)
Tip: Airteam covers legal topics like no-fly zones and drone licenses in depth on the blog - ideal as a foundation for your internal operations manual.
2. Technology: Drone & camera
For solar / photovoltaic drones, make sure you have:
- A gimbal-mounted camera with high resolution (at least 20 MP)
- Stable positioning (ideally RTK/PPK)
- Sufficient flight time (at least 25-30 minutes)
- Support for automated flight routes
Airteam recommends and trains you on suitable surveying drones - you can find details in the drone guide and the starter-set articles.
3. Software & data flow
You will need:
- Access to the Airteam Fusion Platform for 3D models and planning data
- At least one PV design software tool (e.g. PV*SOL premium, Eturnity, SolarEdge Designer, PVcase)
- A clear process for how the data from Airteam is transferred into your design tool and through to installation
Airteam exports planning data in formats such as .obj, .dxf, .dwg, and .skp, which can be imported directly into PV*SOL premium and other PV design platforms.
New to the topic? The overview "PV design with drones - 97 % faster" in the Airteam blog complements this guide: PV-Planung mit Drohnen: 97 % schneller.
Step 1: Define project goals and data depth
Before you get your drone ready for solar projects, determine what data you actually need.
Typical objectives:
- Proposal design: Roof area, number of modules, structural reserve, profitability
- Detailed design: String layout, cable routes, substructure, design variants
- Shade analysis: Objects on the roof, neighboring buildings, trees, dormers
- Roof inspection: Condition of the covering, damage, maintenance needs
Practical tip: For each project, document whether you only want to design the system, or if you also want to capture roof condition, lightning protection, rooftop structures, or facades. This helps you avoid repeat flights.
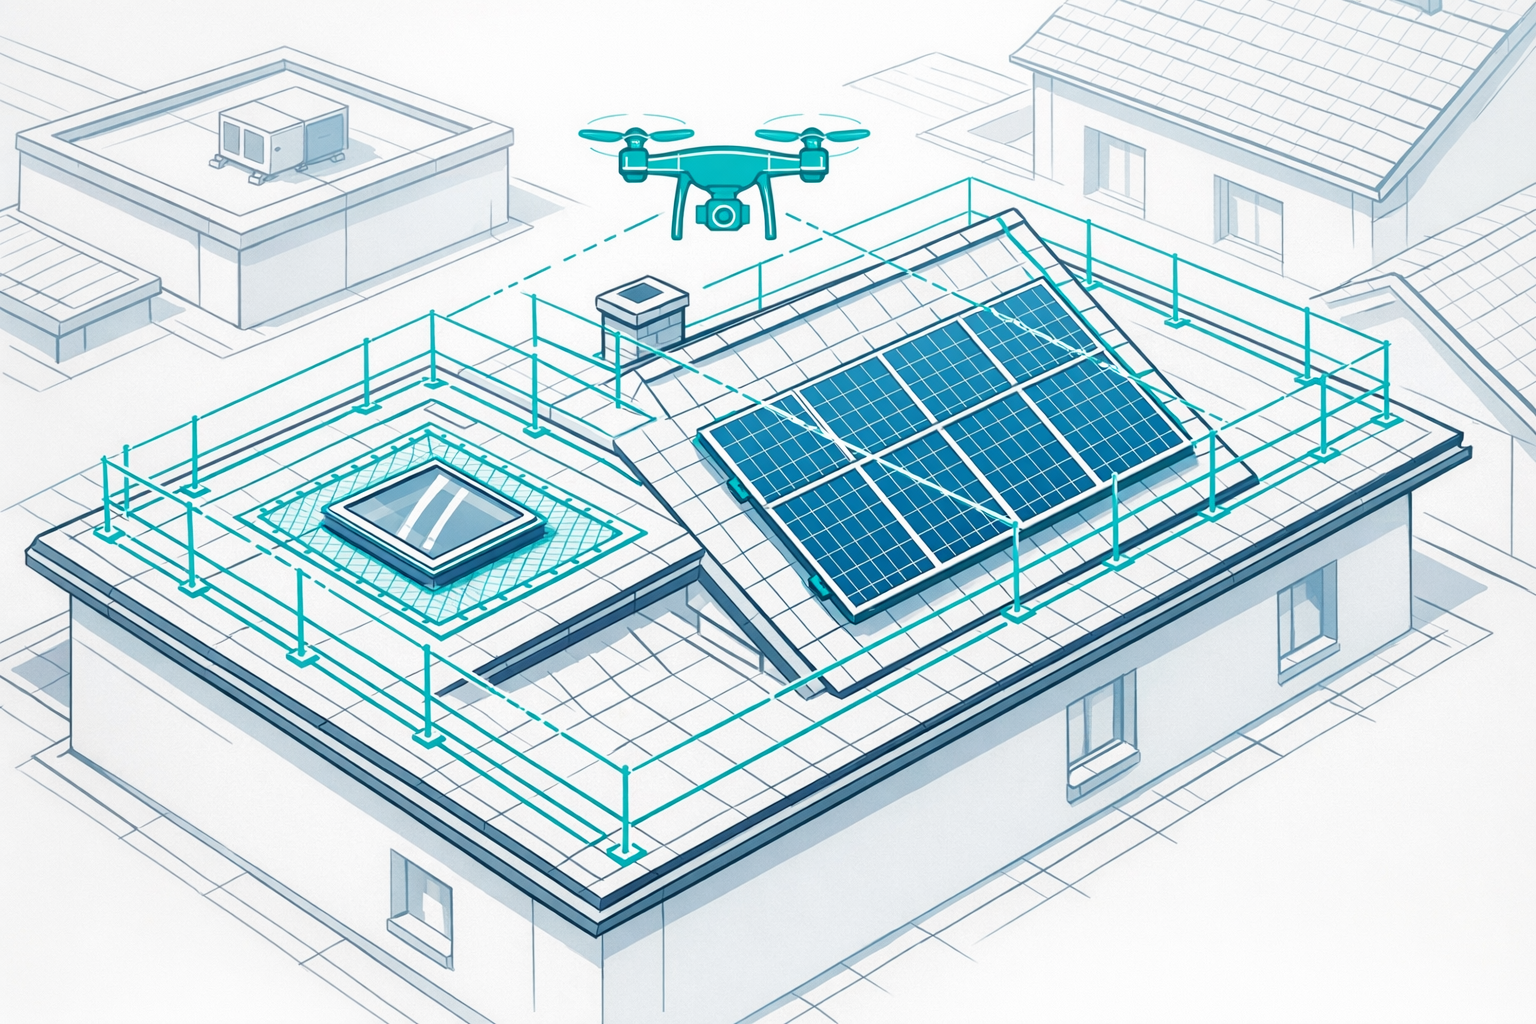
Step 2: Plan drone flights for PV projects
Good flight planning is crucial for making your data usable later on.
2.1 Check flight area and airspace
- Check for buildings, protected areas, nearby airports / airfields
- Obtain owner consent and any additional permits
- Define a take-off and landing site with clear line of sight
Common mistake: Planning too close to the object - this leads to ad hoc flight paths and gaps in your imagery.
2.2 Define flight parameters
For PV projects, this has proven effective:
- A grid flight ("nadir flight") above the roof with sufficient image overlap
- A second mission with oblique images if needed (e.g. for dormers, parapets, neighboring buildings)
PV design projects now use photogrammetric workflows, where precise 3D models are created from overlapping images.
Tip: Schedule flights for diffuse light conditions (light cloud cover). This reduces distracting shadows - the precise shade analysis will be done later by the software.
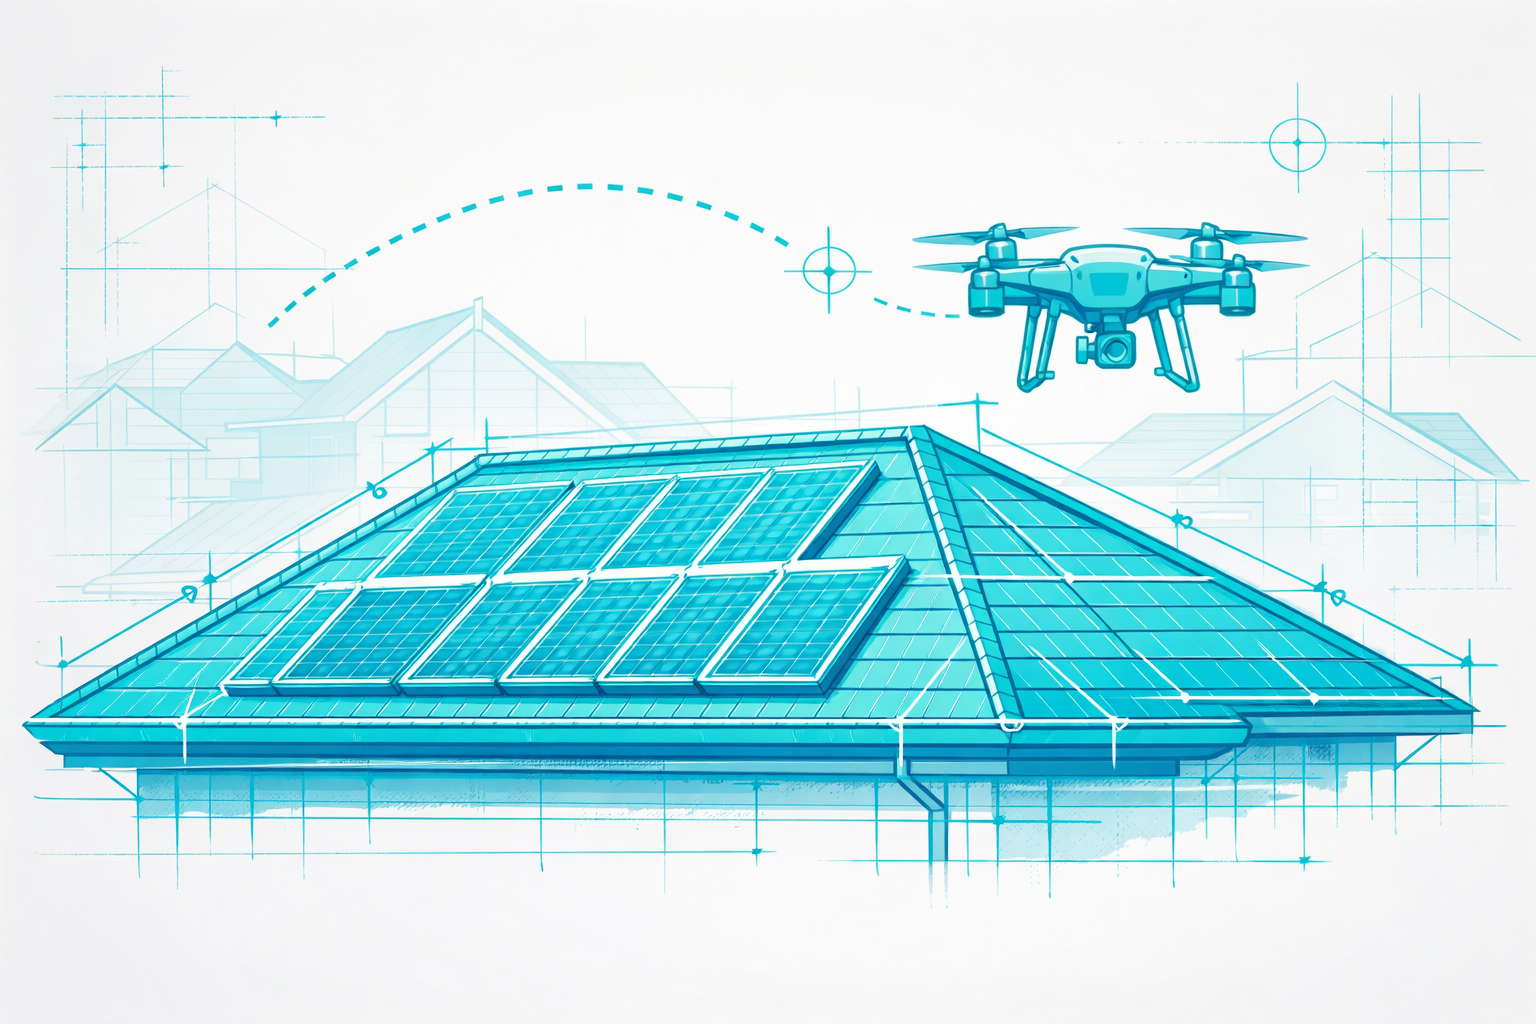
Step 3: Carry out the drone flight and roof inspection
Now for the hands-on part:
- Pre-flight check: Inspect batteries, propellers, sensors, and memory card; calibrate compass/IMU if needed; set a suitable emergency RTH (return-to-home) height
- Start automated flight: Fly the planned route; monitor telemetry (altitude, satellites, wind)
- Add roof inspection: After completing the nadir mission, fly additional detail routes for critical zones (chimney, dormers, penetrations); capture photos or short videos and later link them in the 3D model
With modern workflows, you can open the corresponding roof photo in the 3D model with a single click.
Tip: Document special features (e.g. visible damage, interfering edges, shaded sections) with voice memos or notes. These will make the subsequent system design much easier.
Step 4: Process images in the Airteam Fusion Platform
After the flight, upload the images to the Airteam Fusion Platform and generate a reliable 3D building model.
- Create project: Enter address, name, and customer reference if applicable; select relevant trades
- Upload images: Upload uncompressed raw drone images and RTK/PPK data if available
- Start automatic processing
The Airteam Fusion Platform generates precise 3D models and planning data within about 24 hours. According to DIN SPEC 5452-5, accuracies of up to 99.9 % are possible - this corresponds to only 1-3 cm deviation at a flight altitude of 40 m with RTK drones.
- Review results: Check the 3D roof model in the viewer (edges, dormers, parapets); use measurement tools for spot checks
Common mistake: Only checking the 3D image visually. Perform 2-3 plausibility checks - this pays off in the design phase.
Step 5: Import the 3D model into PV software and perform shade analysis
Link your 3D model with your PV design software to plan the solar system.
5.1 Export from Airteam
Depending on the tool, choose the appropriate format:
- PV*SOL premium: 3D CAD formats (.dxf, .dwg, .skp), special LPM/planarized data
- Eturnity, SolarEdge Designer, PVcase: Customized planning data and 3D exports
Airteam data can be imported directly into PV*SOL premium and completely replace manual roof surveys or inaccurate satellite data.
You can find a detailed guide for PV*SOL here: PV-Anlagenplanung mit PV*SOL premium und Airteam Drohnen-Daten.
5.2 Prepare the roof model
In the PV software:
- Assign roof areas and check orientation and tilt
- Mark areas such as roof windows, chimneys, and required clearances to the roof edges
- Draw in safety clearances (lightning protection, maintenance walkways)
5.3 Set up shade analysis
One of the biggest advantages of drone + 3D model + PV software:
- Shading objects are automatically included (dormers, chimneys, parapets, neighboring buildings, trees)
- Climate data enables realistic sun-position calculations and yield simulations
Detailed shade analyses based on precise 3D data provide significantly more reliable yield forecasts than purely 2D designs.
Tip: Create multiple layout variants (e.g. east/west vs. south maximization) and compare yield profiles. Especially on partially shaded roofs, this helps you optimize string configuration, the use of optimizers, and battery sizing.
Step 6: Proposals, visualization, and customer communication
Drones and 3D models make your proposals far more professional.
- 3D screenshots and perspectives: Create views that show the planned modules and all relevant roof sections. Highlight shading and maintenance access routes.
- Yield and payback charts: Use simulation results from your PV software to create clear, easy-to-understand charts.
Studies show that up to 30 % of PV projects are affected by design errors - centimeter-accurate 3D models significantly reduce this rate.
- Transparent documentation: Attach the survey report, module layout, string diagram, and roof inspection photos to your proposal.
Practical tip: Actively present the 3D model in customer meetings - on a tablet or via video call. Many Airteam customers report that this helps them close projects faster.
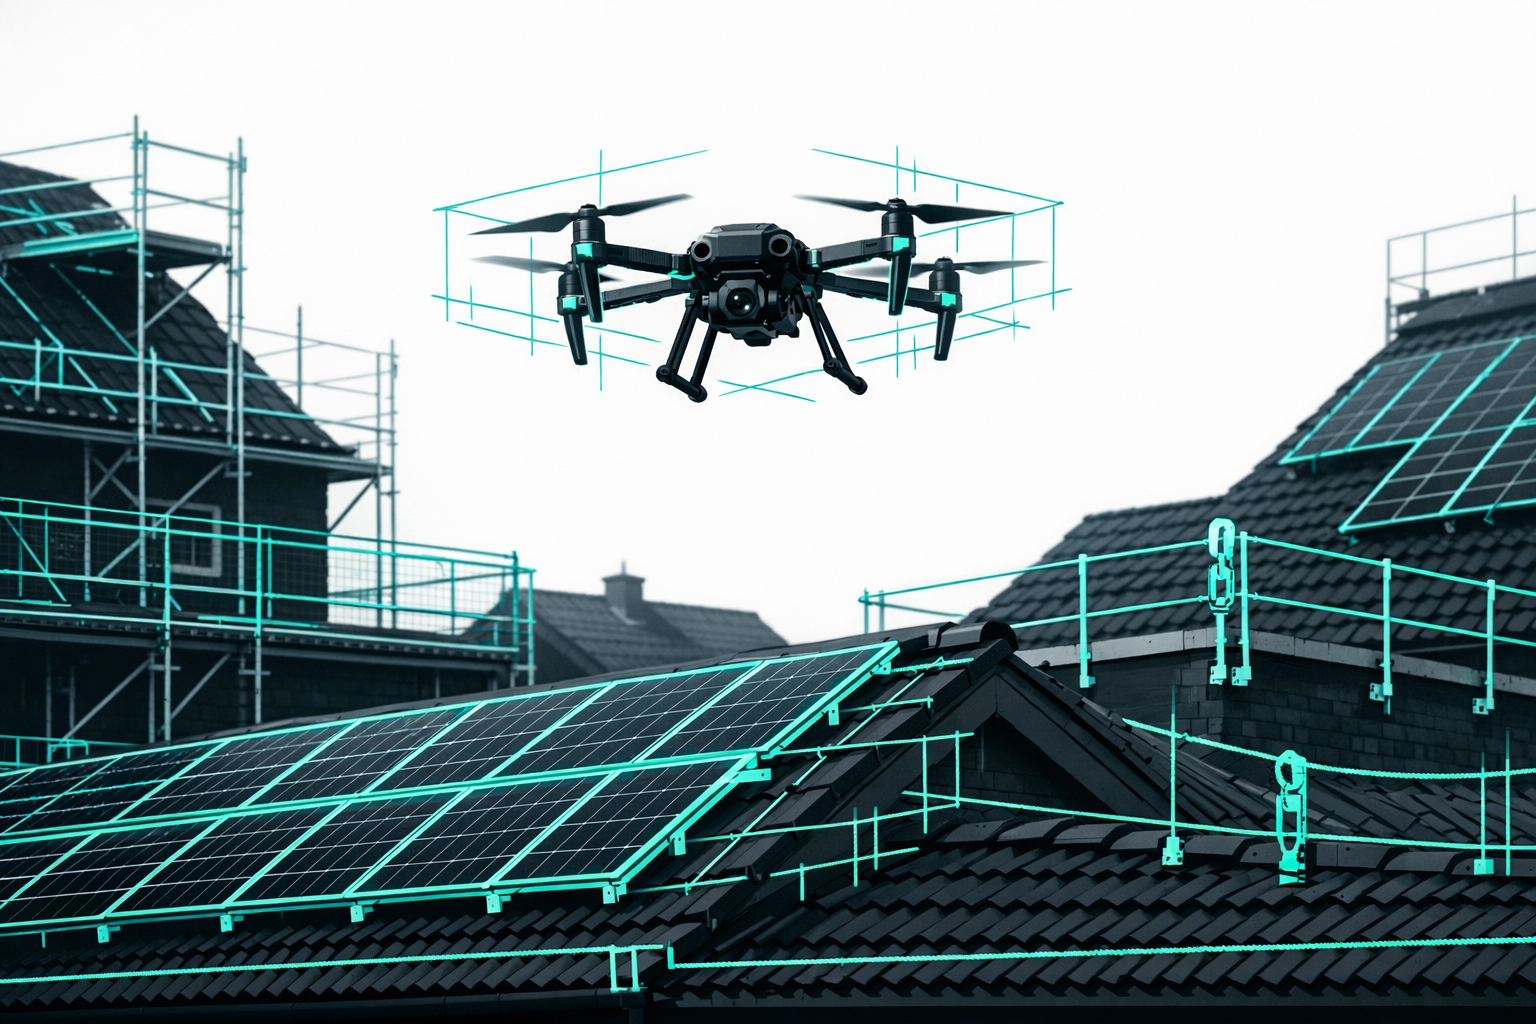
Step 7: Installation preparation and documentation
Even after the design phase, drone footage continues to add value:
- Installation planning: Installers know the roof geometry, rooftop structures, and planned module locations ahead of time.
- Safety: Critical areas (e.g. brittle tiles, steep dormers) are identified via the roof inspection and can be taken into account when planning scaffolding and personal protective equipment.
- As-built documentation: After installation is complete, you can conduct another flight for documentation - important for warranties, insurance, and future service work.
Standards-compliant digital documentation is already required by many grid operators and major customers in PV projects today.
Common mistakes and how to avoid them
Mistake #1: Too little image overlap
Result: Holes in the 3D model, missing edges.
Solution: Use automated grid flights with sufficient overlap; do not use manual freestyle flights for surveying.
Mistake #2: Only nadir images without oblique shots
Result: Dormers, chimneys, and parapets are modeled inaccurately.
Solution: Plan a second mission with oblique images - especially for complex roofs.
Mistake #3: Incorrect or missing coordinate systems
Result: Problems when importing into CAD/PV software.
Solution: Use standardized exports from the Airteam Fusion Platform and define project guidelines.
Mistake #4: Shade analysis done roughly by gut feeling
Result: Underestimated yield losses and dissatisfied customers.
Solution: Always use the integrated shade analysis of your PV software with the 3D model.
Mistake #5: Using drones only for proposal projects
Result: Missed opportunities in installation, maintenance, and documentation.
Solution: Use drone footage as well for maintenance planning, thermal inspections, and refurbishment projects.
Next steps for your solar business
If you integrate drone footage firmly into your PV workflows, you benefit in several ways:
- Faster proposal generation
- Higher design quality
- Fewer change orders and complaints
- Safer job sites
In practice, the planning phase for PV systems can be shortened by up to 70 % with drones; complete projects can be delivered up to 90 % faster.
Get started now:
- Define processes: Decide from which system size onwards and in which regions and customer segments you will use drones and Airteam.
- Select pilot projects: Test the new workflow on 2-3 current roofs.
- Use Airteam and measure results: Compare effort, accuracy, and proposal conversion rates with your previous projects.
Direct entry into drone-based PV design: Mit Drohne und AI zur perfekten PV-Planung.
FAQ on drone footage for PV solar companies
1. How accurate is drone footage compared with traditional surveying?
With the right hardware and the Airteam Fusion Platform, you achieve standards-compliant accuracy:
RTK drones deliver deviations of only 1-3 cm at a flight altitude of 40 m; this corresponds to accuracies of up to 99.9 %. In day-to-day work, this is more precise than many traditional surveys - particularly on complex roofs.
2. Is it worthwhile to use a drone for small roofs?
Yes. For single-family and duplex homes, you save considerable time, avoid climbing ladders, and have all planning and documentation data available immediately.
Airteam customers report time savings of up to 90 % for roof surveys compared with traditional methods.
3. Do we need to own a drone as a company?
No. You can either
- use your own drone and train your team internally, or
- hire external pilots and focus on design and sales.
Airteam supports both approaches: starter sets for in-house teams, or a nationwide pilot network for outsourced flights.
4. How does the import into my PV software work?
Generally, it is straightforward:
- Select the appropriate export format in the Airteam platform
- Import the file into your PV tool (e.g. PV*SOL premium)
- Assign roof areas and module zones if necessary
The "Ultimate guide to PV system design with PV*SOL premium and Airteam data" describes the process in detail.
5. Does this workflow also work for thermal inspections?
Yes - with a suitable thermal imaging camera you can perform thermal drone inspections:
- Detect hotspots and faulty modules
- Locate strings with reduced output
Drone-based thermography allows you to inspect 1 MW of PV modules in around 10 minutes, whereas a manual inspection would take 3-5 hours.
This is particularly efficient and cost-effective for maintenance and existing systems.